Arizer Solo 3 V2 vs Air MAX: Which Arizer Suits You?
Arizer Solo 3 V2 vs Air MAX: Which One Is Worth It?
Arizer Solo 3 V2 vs DynaVap M7: Electric or Butane?
Arizer Solo 3 V2 vs Solo 2 MAX: Which Solo Is Worth It?
Arizer Solo 3 V2 vs. Crafty+: Is the €35 Extra Worth It?
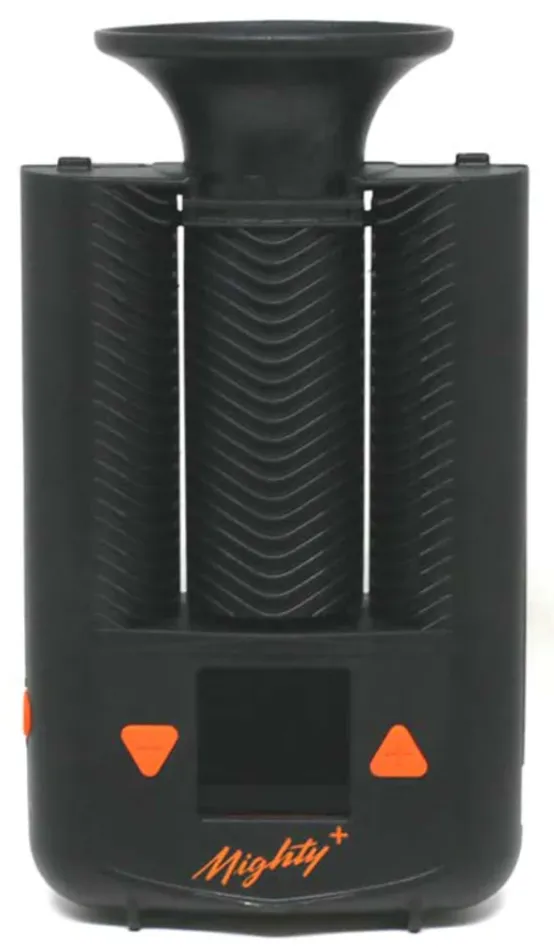
Arizer Solo 3 V2 vs. Mighty+: Same Price, Different World
Arizer Solo 3 V2 vs. Venty: The Cheaper Device Wins on Paper
Tinymight 2 vs. Solo 3 V2: On-Demand vs. Session
XMAX V4 Pro vs Arizer Solo 3 V2: Budget Convection or Premium Hybrid?
Pros
- 5000-mAh battery lasts longer than competing models
- Lifetime warranty, replaceable battery
- 15-second heat-up time for quick use
- Water pipe compatible with app control
Cons
- 210g weight is heavier in the portable segment
- 50–220°C range requires temperature management
- Hybrid heating not optimal for large quantities
Currently at the lowest price! Set an alert for future deals.
Price Comparison (92 shops) 122–409 €
Lowest189,00 €15. Mar
Average252,89 €
Highest364,34 €16. Mar
Out of Stock
Last updated: 30/03/2026, 2:48 AM
* Some links are affiliate links. We earn a small commission if you purchase through these links — at no extra cost to you.
Specifications
| Heating Method | Hybrid |
| Device Type | Portable |
| Brand | Arizer |
| Power Source | Battery |
| Temperature Range | 50°C - 220°C |
| Heat-up Time | 15 seconds |
| Battery Capacity | 5000 mAh |
| Weight | 210 g |
| Dimensions | 4.6 x 3.5 x 11.5 cm |
| Auto Shutoff | 20 min |
| Warranty | 99 years |
| App Control | Yes |
| Water Pipe | View water pipe adapters |
| Session Mode | Session & On-Demand |
| Temperature Control | Digital |
| Material | Dry Herb |
| Vapor Path | Glass |
| Battery Type | 18650 Li-Ion |
| Battery Count | 2 |
| Replaceable Battery | Yes |
| Passthrough Charging | Yes |
| Charging Port | usb-c |
Source: OfficialOfficial, OfficialOfficial, MagicVaporizersAggregator · Verified 20.02.2026
Solo 3 V2 vs Venty for the Solo 3 V2. You can find the complete overview on the main page.
Quick answer for "Solo 3 V2 vs Venty": we show which model fits which user type best.
Solo 3 V2 vs Venty
Solo 3 V2 vs Venty is a core practical topic for the Solo 3 V2. Build a stable baseline with fixed temperature and airflow, adjust one variable per session, and keep short notes to find a reproducible setup.
Check draw rhythm, chamber fill, and cleaning intervals in a regular routine. Most quality gains come from consistency, not from extreme settings.
- Start with one repeatable profile.
- Change only one parameter at a time.
- Track taste, vapor density, and session duration.
- Clean cooling path, screens, and seals regularly.
Related guides without comparison intent
More Solo 3 V2 topics
- Cleaning & Care
- Battery Charging Tips
- Temperature Settings
- Glasmundstücke Guide
- Herb Prep & Grind
- How to Use — Getting Started
- Tips for Dense Vapor
- Reduce Smell
- Microdosing
- Session vs On-Demand
- Troubleshooting & Error Messages
- Efficiency: Vape Economically
- Travel Setup
- Accessory Overview
- Frequently Asked Questions (FAQ)
- Warranty & Repair
- Lifespan & Maintenance Plan
- Review & Long-Term Test
- Safety & Materials
- Solo 3 V2 vs Mighty+
- Solo 3 V2 vs Crafty+
- Solo 3 V2 vs Solo 2 MAX
- Solo 3 V2 vs Extreme Q
- Solo 3 V2 vs Air MAX
- Solo 3 V2 Alternativen
Price comparison charts for both devices
Pros
- 5000-mAh battery lasts longer than competing models
- Lifetime warranty, replaceable battery
- 15-second heat-up time for quick use
- Water pipe compatible with app control
Cons
- 210g weight is heavier in the portable segment
- 50–220°C range requires temperature management
- Hybrid heating not optimal for large quantities
Currently at the lowest price! Set an alert for future deals.
Price Comparison (92 shops) 122–409 €
Price history is being recorded. Check back in a few days!
Out of Stock
Last updated: 30/03/2026, 2:48 AM
* Some links are affiliate links. We earn a small commission if you purchase through these links — at no extra cost to you.
Specifications
| Heating Method | Hybrid |
| Device Type | Portable |
| Brand | Arizer |
| Power Source | Battery |
| Temperature Range | 50°C - 220°C |
| Heat-up Time | 15 seconds |
| Battery Capacity | 5000 mAh |
| Weight | 210 g |
| Dimensions | 4.6 x 3.5 x 11.5 cm |
| Auto Shutoff | 20 min |
| Warranty | 99 years |
| App Control | Yes |
| Water Pipe | View water pipe adapters |
| Session Mode | Session & On-Demand |
| Temperature Control | Digital |
| Material | Dry Herb |
| Vapor Path | Glass |
| Battery Type | 18650 Li-Ion |
| Battery Count | 2 |
| Replaceable Battery | Yes |
| Passthrough Charging | Yes |
| Charging Port | usb-c |
Source: OfficialOfficial, OfficialOfficial, MagicVaporizersAggregator · Verified 20.02.2026
About this vaporizer
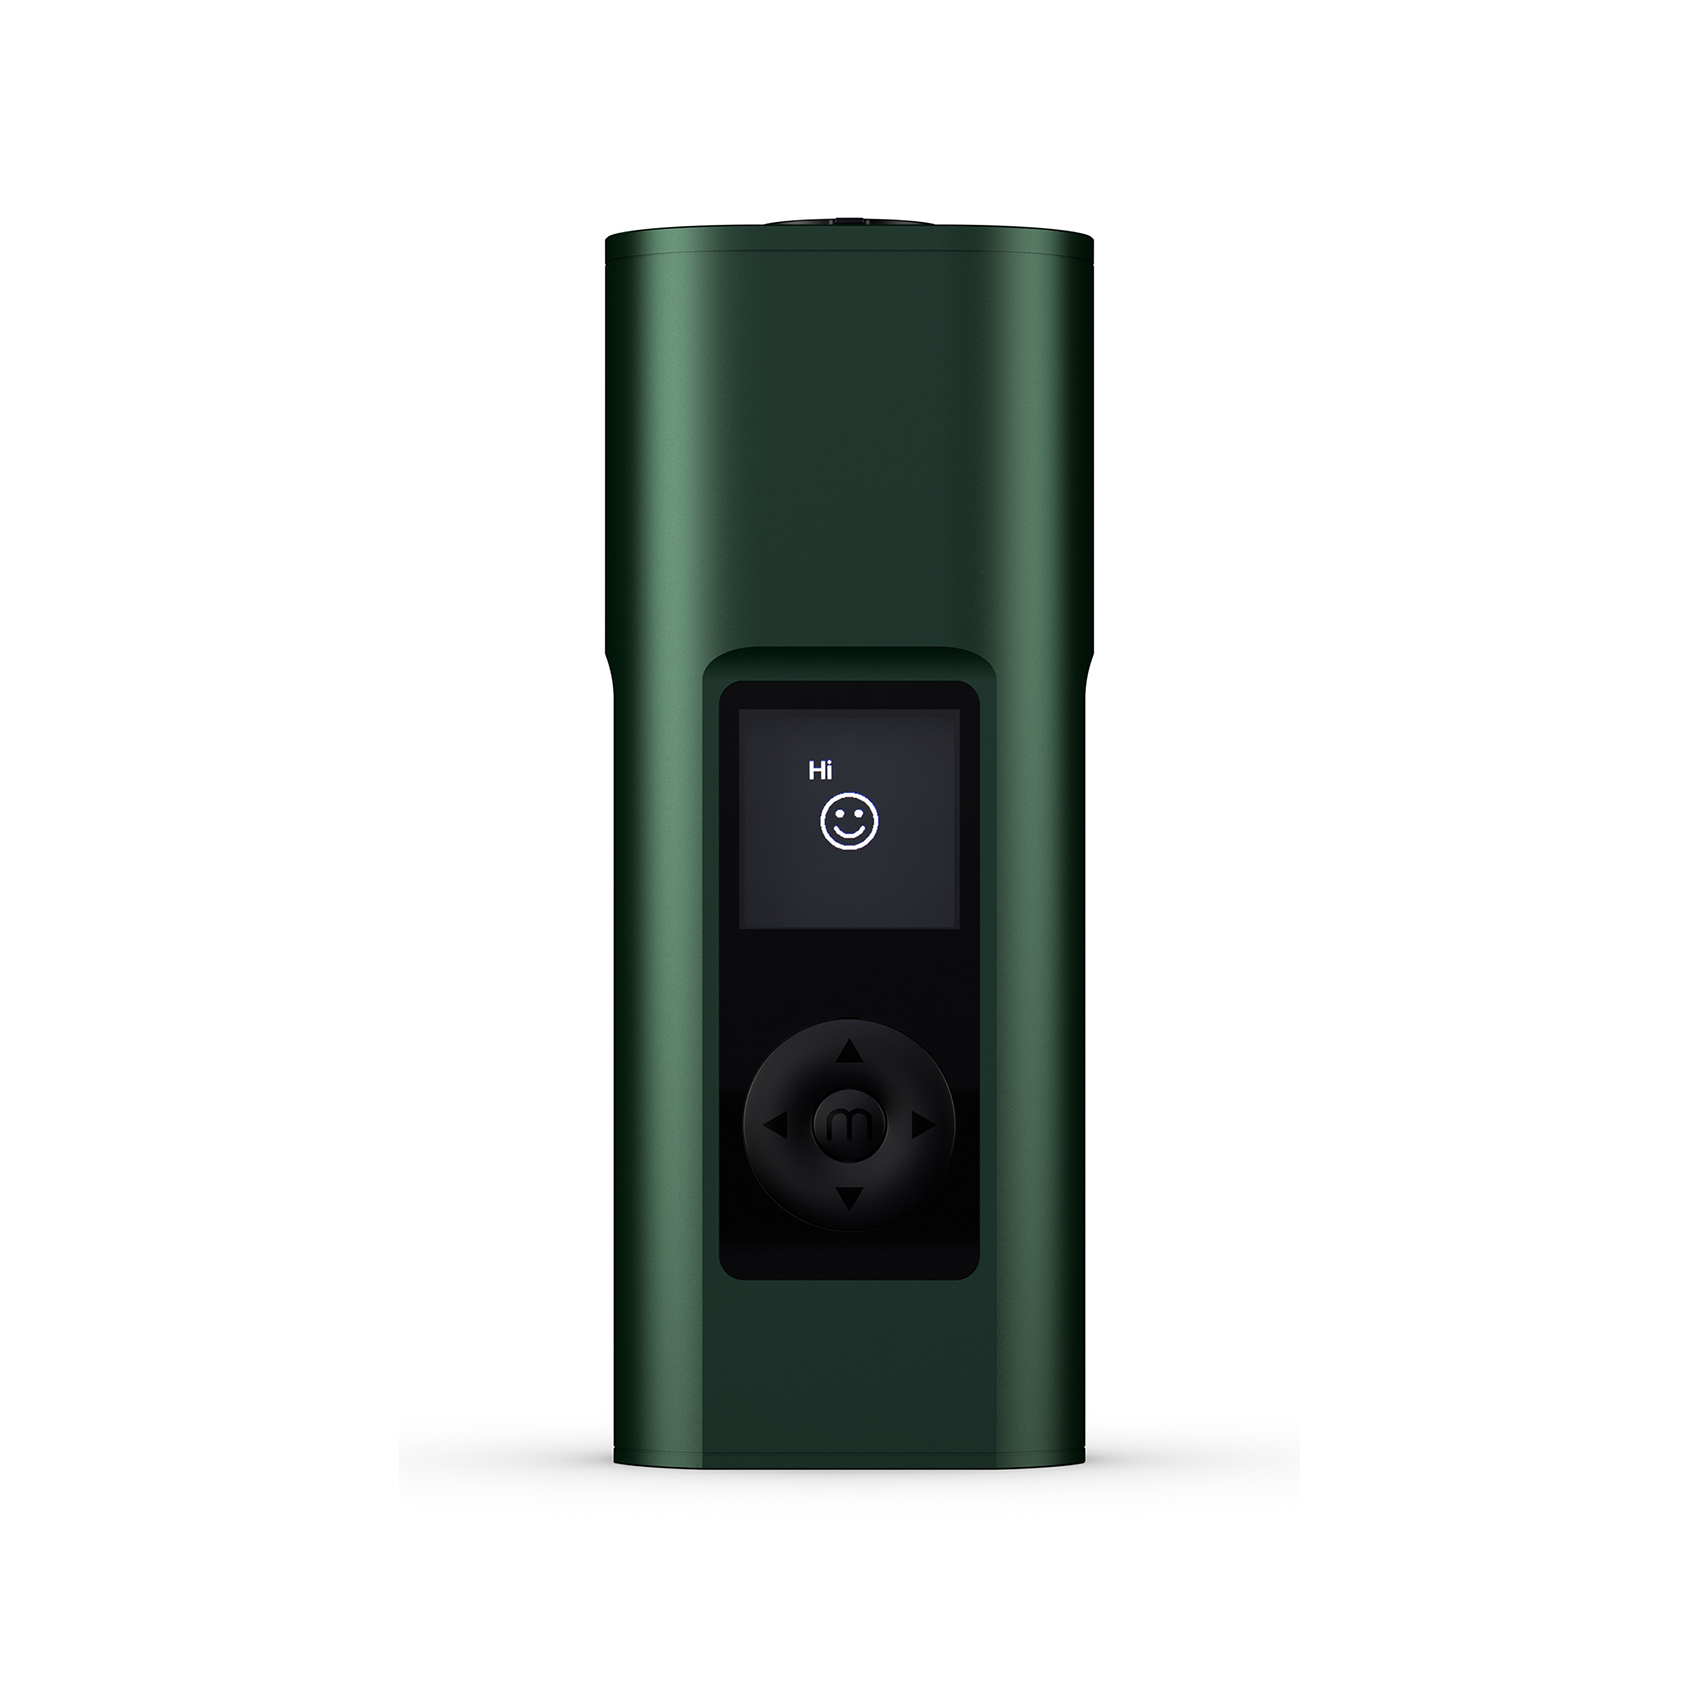
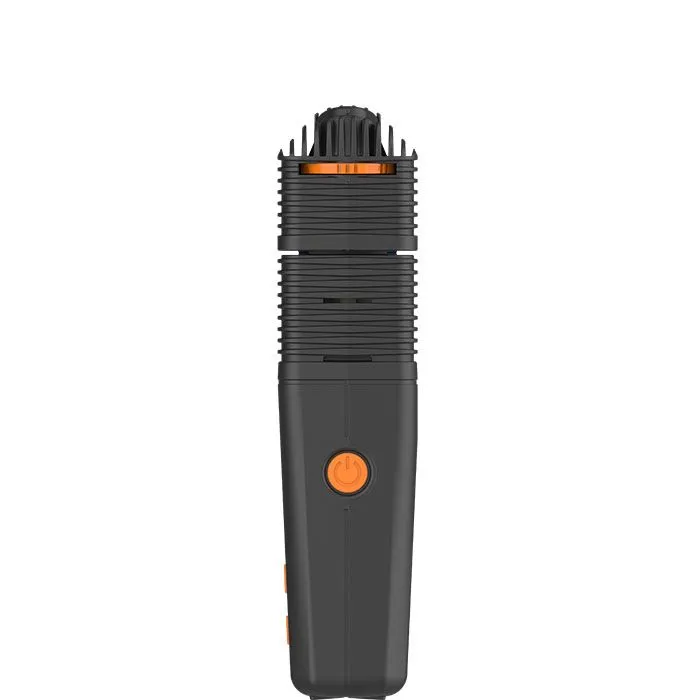
The Arizer Solo 3 V2 is a portable hybrid vaporizer with convection and conduction heating, designed for users who value long battery life and reliable quality. With its 5000-mAh battery, the device lasts significantly longer than comparable models. The 15-second heat-up time enables quick use, and the temperature range of 50–220°C covers all application scenarios. The replaceable battery is a practical advantage: on the go, simply insert a charged battery without waiting for the vaporizer. Water pipe compatibility and dosing capsules increase flexibility. Pass-through charging allows use during the charging process. With app control, temperature and settings can be managed via smartphone. The weight of 210g is acceptable for a portable device. Arizer's lifetime warranty underscores build quality and provides confidence in the investment. The Solo 3 V2 is aimed at users who want an everyday device without compromises on battery life.
Pros
- 5000-mAh battery lasts longer than competing models
- Lifetime warranty, replaceable battery
- 15-second heat-up time for quick use
- Water pipe compatible with app control
Cons
- 210g weight is heavier in the portable segment
- 50–220°C range requires temperature management
- Hybrid heating not optimal for large quantities
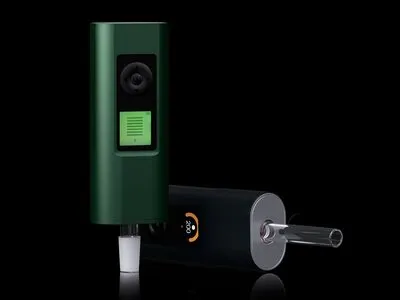
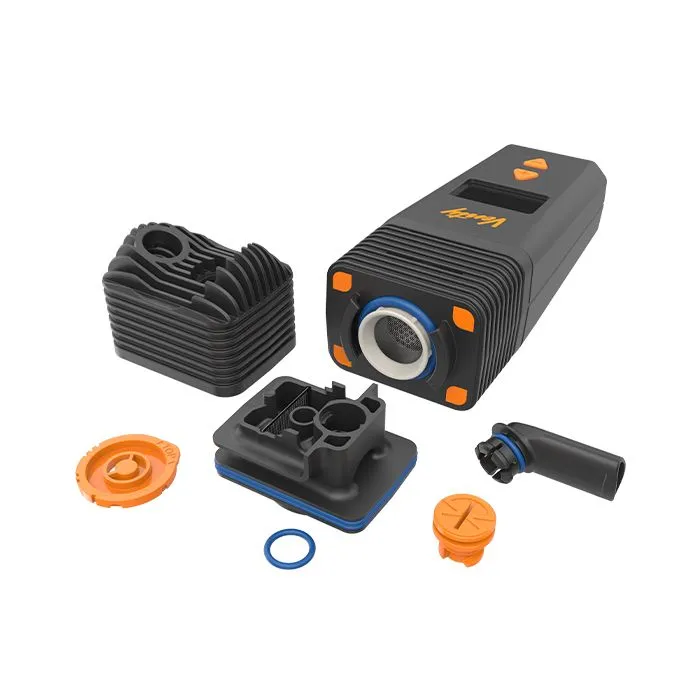
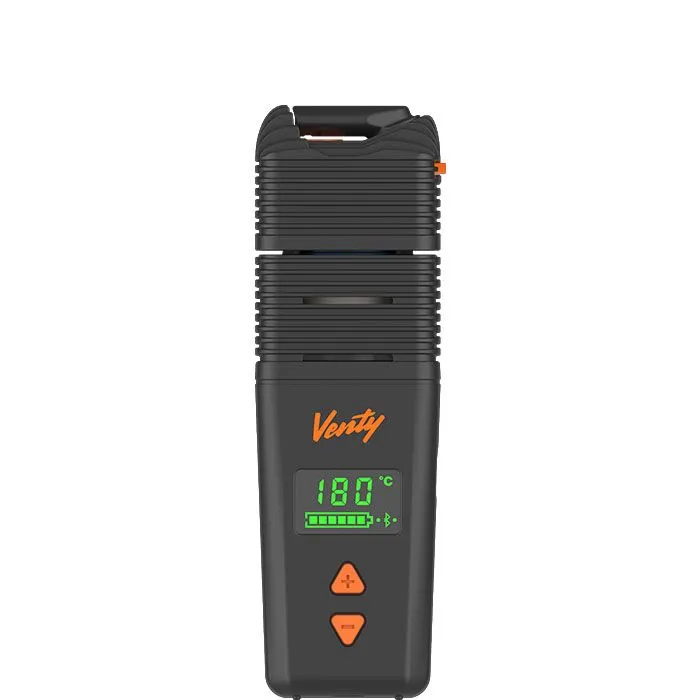
The Arizer Solo 3 V2 is the biggest news from Canada in five years. Arizer launched the glass stem era with the Solo model in 2013 and has been shaping the market ever since. Now the third generation brings a revolution: dual-mode operation. Session mode for relaxed 10-minute sessions or on-demand for spontaneous single hits. An 80/20 hybrid heating system (convection/conduction) combined with four glass stems included, including two XL stems with double capacity. The color display is brighter than its predecessor and even rotates when you flip the Solo 3 upside down for water pipe use. With a 5,000 mAh replaceable battery, you'll get over 10 sessions per charge. Temperature control in 1-degree increments between 50-220°C. The Solo 3 is available from ~179€ in 38 shops – check out the price comparison.
Usage & Operation
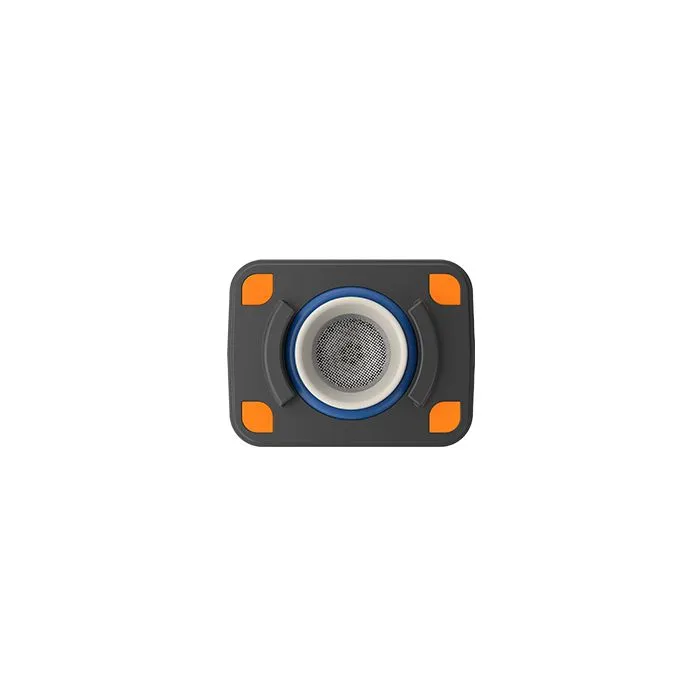
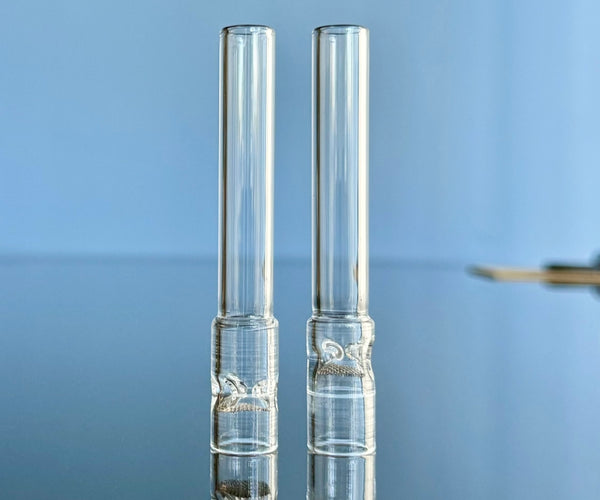
The Arizer Solo 3 V2 uses glass aroma tubes instead of a traditional chamber. The borosilicate glass gives you pure flavor with no plastic or metal in the vapor path. Its 5000 mAh battery is the largest in its class – enough for 15–20 sessions per charge.
1. First Charge
Plug in the USB-C cable. The 5000 mAh battery needs about 2.5–3 hours for a full charge. You can vape while it charges (passthrough charging). The OLED display shows battery level as a percentage.
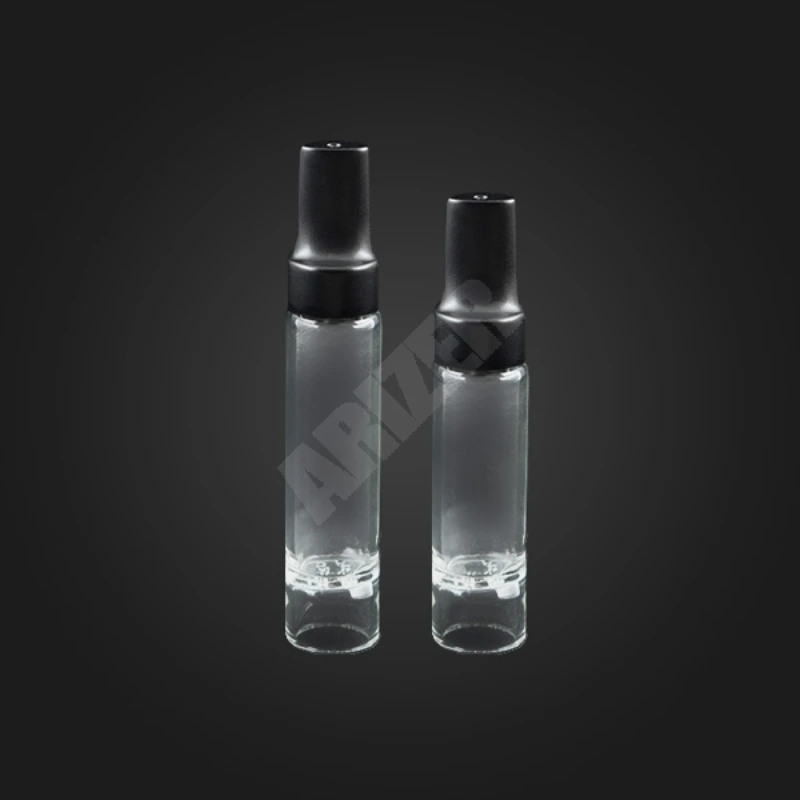
2. Load the Glass Tube
Grind your herbs medium-fine. Hold the glass tube vertically and gently press the open end into the ground material. About 0.1–0.15 g is plenty. The glass tube doubles as both mouthpiece and chamber – so you're loading from the top. Don't pack it: air needs to flow through the herbs.
3. Insert the Tube and Choose Your Temperature
Slide the loaded glass tube into the heating well. Turn the device on (hold button for 3 seconds). The OLED display shows the current temperature. Set your target with the arrow buttons (50–220 °C / 122–428 °F in 1 °C steps):
- 180 °C / 356 °F – pure flavor, light vapor
- 195 °C / 383 °F – balanced, flavor plus solid clouds
- 210 °C / 410 °F – thick clouds, less flavor
- 220 °C / 428 °F – max extraction
Heat-up takes about 30 seconds. The ArGo app gives you temperature curves and custom presets.
4. Draw Technique
Draw directly from the glass tube – slowly and steadily for 10–15 seconds. The glass naturally cools the vapor on its way to you. A session runs for 12 minutes before auto-shutoff. You can adjust session length in the settings.
5. After Your Session
Power off the device and let it cool briefly. Carefully pull out the glass tube and tap out the spent herbs. A quick blow through the tube clears any remaining bits. Soak the glass tube in isopropyl alcohol every 5–10 sessions – this keeps the flavor pure and the glass clear.
5 Common Beginner Mistakes
- Packing the tube too tight – Completely blocks airflow. A gentle press into ground herbs is enough.
- Not inserting the tube deep enough – A loose fit means poor heat transfer. Push it firmly all the way in.
- Starting too hot – 220 °C on your first draw tastes harsh. Begin at 180–195 °C.
- Drawing too fast – With the Solo 3 V2, slow pulls produce way more vapor than quick sips.
- Skipping glass tube cleaning – Resin darkens the glass and changes the taste. Clean every 5–10 sessions.
Session Mode in Detail
Session mode is your default operation for relaxed vaping sessions. After powering on, you only need 15 seconds until the target temperature is reached. The default session lasts 10 minutes, but you can set it between 5 and 20 minutes. Additionally, there are three customizable presets that you can access with a double-click – perfect for different herbs or times of day.
Temperature regulation happens in real-time and adapts to your draw behavior. When you pull hard, the Solo 3 detects the increased airflow and heats more to maintain the temperature. A clever strategy is temperature stepping: Start at 185°C for flavor, bump up to 193°C after a few draws for balance, and finish the session at 205°C for maximum extraction.
With an XL stem at 193°C, you get 4-6 fantastic draws with thick vapor and full flavor. After that, the taste begins to decline, even though vapor still comes. The AVB (Already Vaped Bud) comes out brown and crispy – a sign of excellent extraction without green spots. Session mode is ideal for group sessions or when you want to sit back and vape continuously.
On-Demand Mode in Detail
On-demand mode is the big innovation in the Solo 3 and distinguishes it from the Solo 2. Here you start each inhalation separately – like a mini session. The display shows a progress bar and beeps when the temperature is reached. Then you have a 10-second draw window (adjustable between 5-25 seconds). After the draw, the device immediately cools down and preserves your material.
The genius part: You can take one draw, put the device away, and come back an hour later – the herb is preserved, not overcooked like in session mode. There are five heat levels that are not customizable but fixed at 180°C, 185°C, 193°C, 205°C, and 220°C. Per XL stem, you get 2-5 powerful draws, depending on the heat level.
On-demand mode also allows intense single-hit extractions: Set it to maximum temperature and 25-second draw duration, then you can extract a complete load in a single, long draw. This is especially interesting for water pipe use. The control is precise – no accidental overheating like with butane vaporizers. On-demand mode makes the Solo 3 a versatile device that adapts to your consumption rhythm.
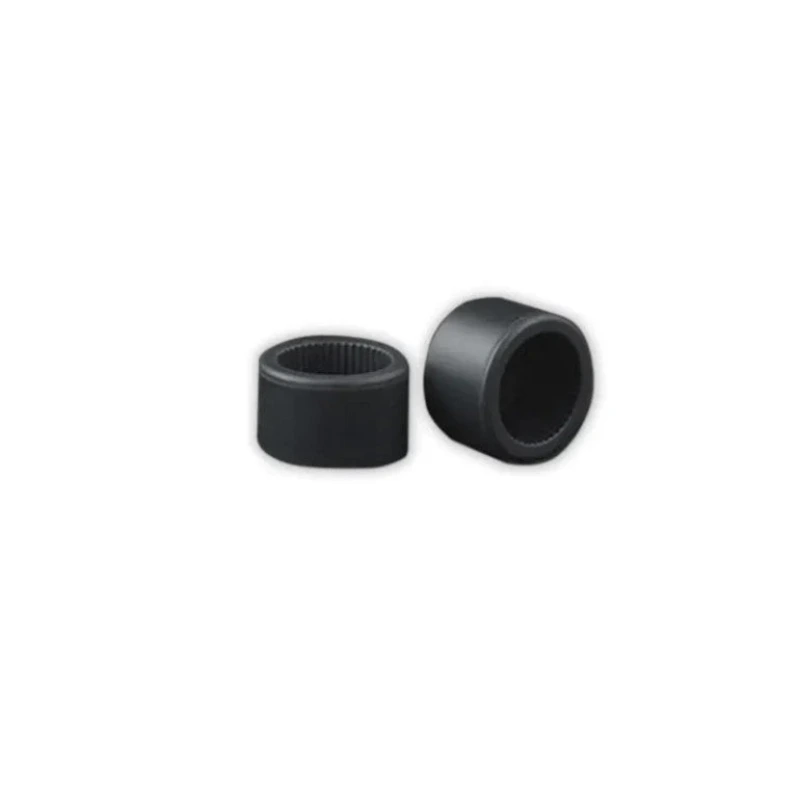
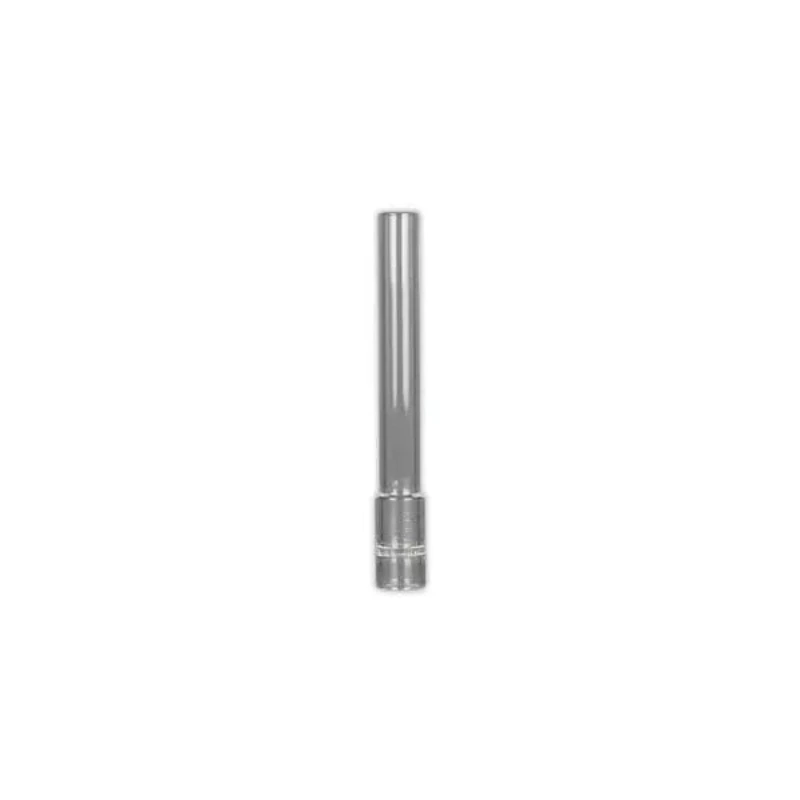
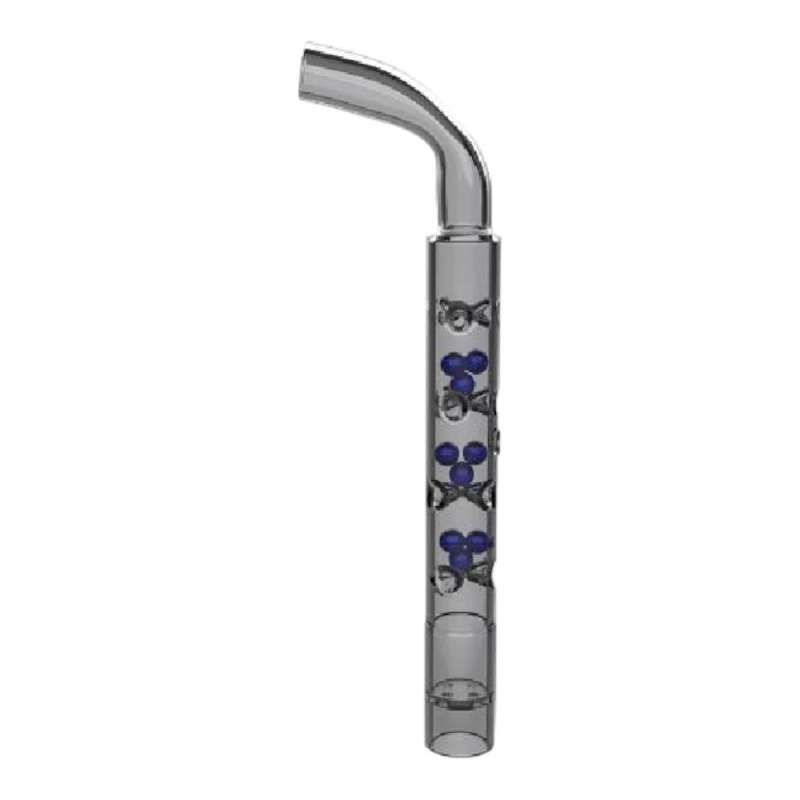
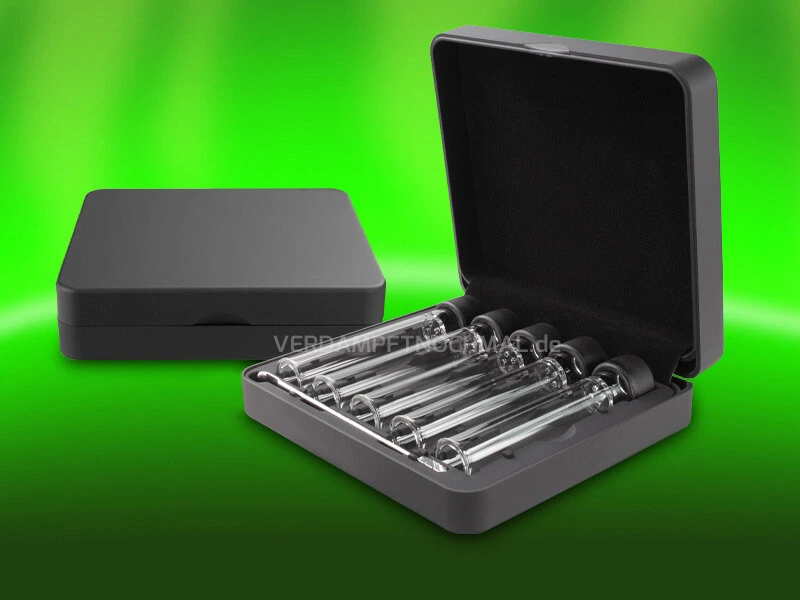
XL Glass Stems – Double Capacity
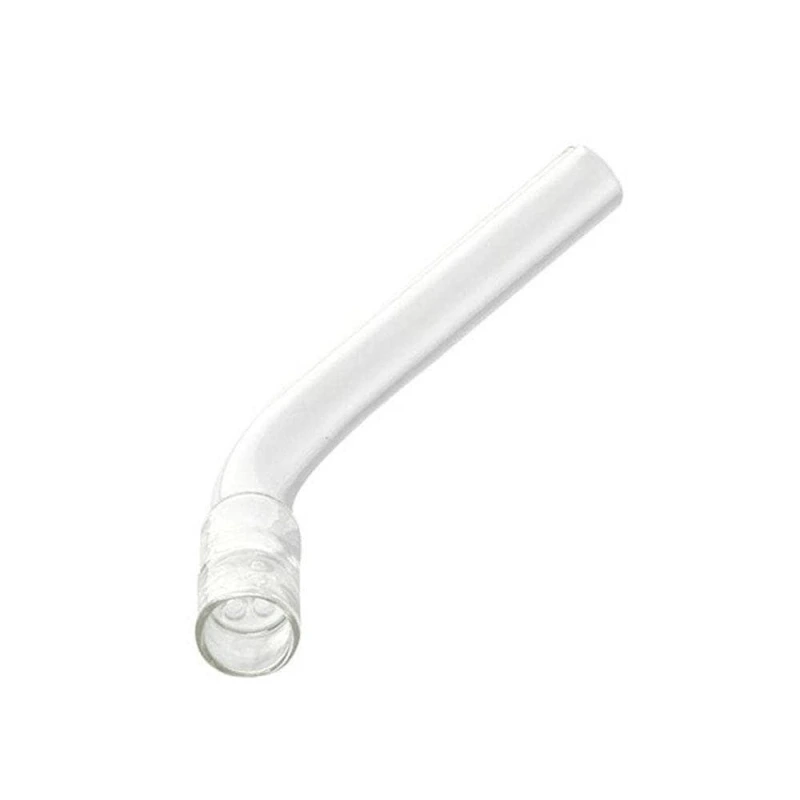
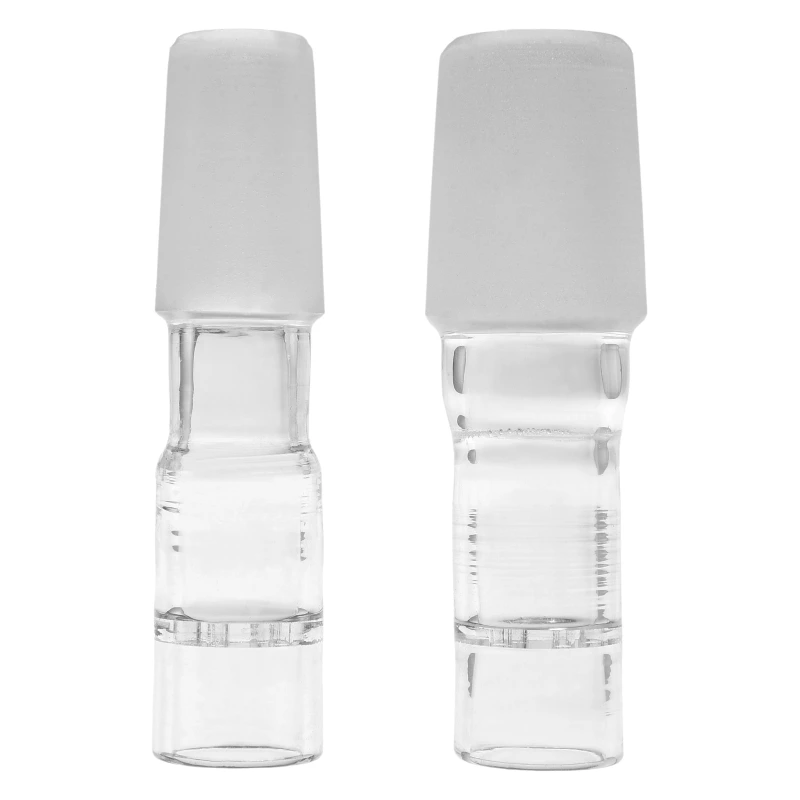
The Solo 3 package includes four glass stems: two straight (90mm regular + XL) and two water pipe adapters (regular + XL, with frosted tips). The XL stems are the highlight because they hold double the amount of herb – about 0.2g instead of 0.1g. That means more flavor, thicker draws, and stronger effects per session.
The XL stems make particular sense on the Solo 3 because the heating chamber is deeper than on the Solo 2 or Air MAX. On the Solo 2, the herb in XL stems sat too close to the seal where there's no heat – on the Solo 3, it sits optimally in the heating zone. Loading works best directly from the grinder: Turn the stem in the herb to fill it. From a jar: Dip the stem in and turn. Then lightly tamp with your finger, make a half turn, and the herb should stay just below the lip – not too tight, or airflow suffers.
The glass stems cool the vapor considerably. Heat is generated at the bottom of the stem (which is why the herb browns there first), and by the time the vapor reaches the top, it's pleasantly cool. The WPA stems have a frosted tip for better grip on the water pipe glass. Important: Empty the stems immediately after the session, or the AVB sticks to the glass. A brush for the glass holes keeps everything clean.
Display & Operation
The color display is an upgrade over the Solo 2. It's brighter, sharper, and has more color levels. The brightness setting ranges from 1 to 5, and even at full brightness, battery consumption is minimal. Operation is via three buttons: Power, left, right. To unlock the device, hold Power for three seconds, then press left-up-right in that sequence.
On the mode selection screen, you choose Session or On-Demand. Double-clicking a button recalls the three customizable presets. Holding the right button takes you to the settings menu: draw duration (5-25s), Celsius/Fahrenheit, notifications, brightness, display inversion, and auto-shutoff (5-20 minutes).
Display inversion is a clever feature: When you flip the Solo 3 upside down for water pipe use (stem facing down), the device detects the orientation and automatically rotates the display. Button functions also rotate – what was previously "left" is now "right". This makes operation intuitive regardless of position. The UI is overall well thought out and after a few sessions, you know where everything is.
Heating & Vapor Quality
The Solo 3 uses an 80% convection / 20% conduction hybrid heating system. Conduction keeps the glass warm, but actual extraction happens through convective heat when drawing. This balance is ideal: The glass is preheated, but the herb doesn't char between draws like with pure conduction.
Real-time temperature regulation is based on airflow: If you pull hard, the device heats more to maintain temperature. If you pull gently, it holds naturally. The AVB comes out brown and crispy – a sign of complete extraction. No green spots, no wasted cannabinoids. Heat comes from the bottom of the stem, which is why the bottom of the herb browns first.
The sweet spot is at 193°C (380°F). Below that, the AVB stays only brown; above that, the bottom turns blackish. At 193°C, you get maximum flavor, thick clouds, and clean AVB. The glass stems cool the vapor considerably – by the time it reaches your lips, it's pleasant. The first 4-6 draws in session mode are outstanding in flavor, after which intensity decreases even though vapor still comes. Slow draws ("sip don't rip") is the best technique.
Water Pipe Use
The Solo 3 comes with two water pipe adapters (WPA): regular and XL, both with frosted glass tips for better grip. The WPAs fit any 14mm bubbler. When you flip the Solo 3 upside down (stem facing down into the water pipe), the device detects the inversion and automatically rotates the display. Button functions also rotate, so "left" becomes "right" and vice versa – very well thought out.
For water pipe use, on-demand mode is recommended. Set it to high temperature (205-220°C) and long draw duration (20-25s), then you can take intense, thick draws. The water additionally filters the vapor, so even high temperatures remain pleasant. You can even extract a complete load in a single draw if you pull for 25 seconds at maximum level.
The XL WPA stems are particularly powerful here because they hold double the amount of herb. That means more material for your bubbler session. A tip: After reaching temperature, let the device sit for 10-20 seconds before drawing – this ensures a thicker first hit. The combination of Solo 3 and water pipe is a match made in heaven: precise temperature control, strong extraction, smooth vapor.
Battery & Runtime
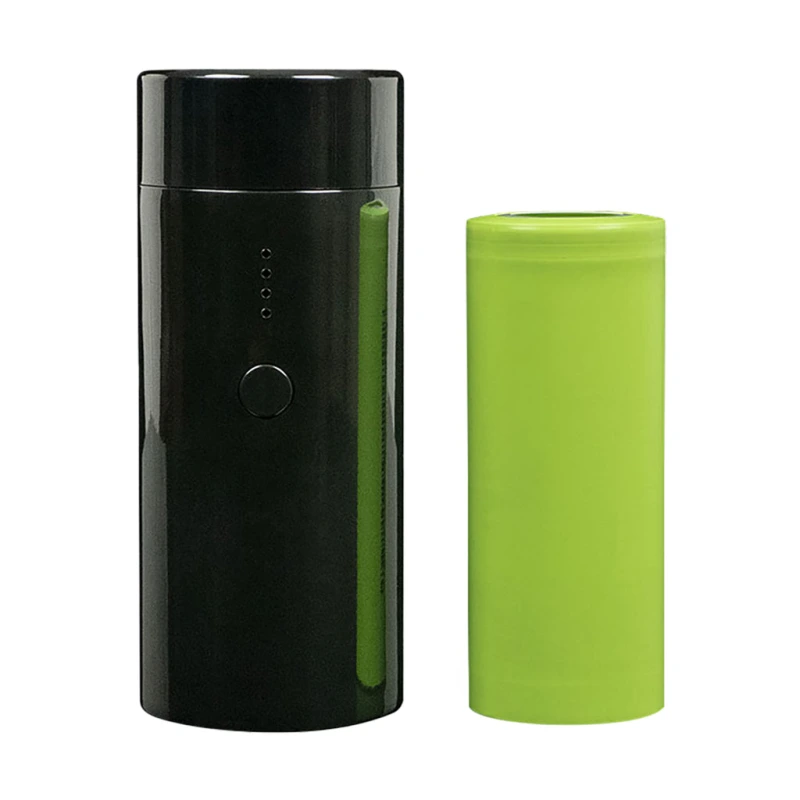
The Solo 3 V2 has a 5,000 mAh replaceable battery – one of the largest on the market. Per charge, you'll get about 10 sessions, which is top-tier and comparable to the Venty. The battery is replaceable, so you can double runtime with a spare battery. This is ideal for festivals, hikes, or long days on the go.
Charging is via USB-C Power Delivery, which is faster than regular USB. Passthrough charging is supported, meaning you can vape while the device is plugged in. A full charge takes about 2-3 hours. The display shows battery status in percentage, so you always know where you stand.
Compared to other portables, the runtime is excellent. Devices like the Pax Plus only manage 6-7 sessions; the Solo 3 significantly exceeds that. The combination of large battery, efficient heating, and replaceable battery makes the Solo 3 one of the most reliable portable vaporizers. A spare battery costs about 30-40€ and is a worthwhile investment if you're often on the go.
Technical Specifications
| Specification | Solo 3 V2 |
|---|---|
| Type | Portable Hybrid |
| Heating | 80% Convection / 20% Conduction |
| Temperature Range | 50-220°C (1°C increments) |
| Heatup Time | 5-15 seconds |
| Modes | Session (5-20 min) + On-Demand |
| Battery | 5,000 mAh (replaceable) |
| Runtime | ~10 sessions per charge |
| Charging | USB-C Power Delivery, passthrough |
| Display | Color, rotatable (invertible) |
| Stems in kit | 4 (2x 90mm straight, 2x WPA, each regular + XL) |
| Water pipe | Yes (14mm WPA stems) |
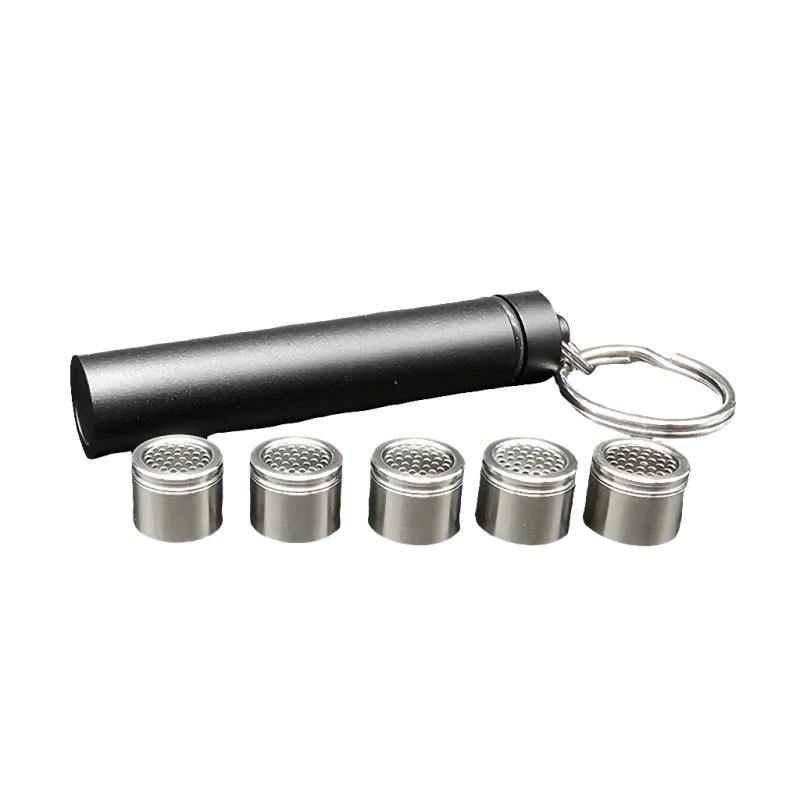
| Dosing capsules | Compatible |
| Weight | 210g |
| Dimensions | 4.6 x 3.5 x 11.5 cm |
| Finish | Shiny brushed metal |
| Warranty | 2 years (Arizer standard) |
| Price | from ~179€ (38 shops) |
Tips for the Solo 3
1. Draw slowly: "Sip don't rip" is the motto. Slow, steady draws give the convection time to extract the herb. Fast, hard pulls can't maintain temperature.
2. Inhale during heatup: As soon as you start "Heat", you can already pull lightly. Terpenes vaporize at low temperatures first – you'll get an intense flavor draw before the target temperature is reached.
3. Wait 10-20 seconds: When the target temperature is reached, wait briefly before taking the first draw. The herb and glass need a moment to absorb the heat evenly. The first draw will be thicker.
4. Empty stems immediately: After the session, tap out the AVB from the stem while it's still warm. When it cools, it sticks to the glass and is harder to remove.
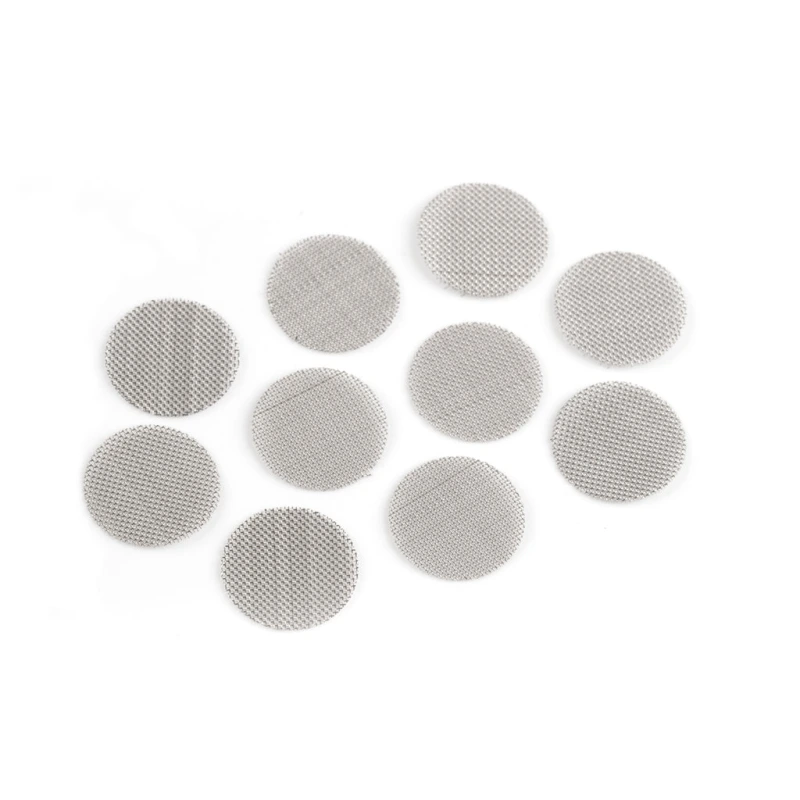
5. Brush the glass holes: A small brush (often included) cleans the screen holes in the stem. This keeps airflow optimal.
6. Don't overload: The herb should stay just below the lip of the stem. If it touches the heating element, it will stick and airflow suffers.
7. Temperature stepping: Start at 185°C, bump to 193°C after a few draws, and finish at 205°C. This way you get everything from your material.
8. XL stems for intensity: If you want thick draws and strong effects, use the XL stems. They hold double the amount and deliver correspondingly more vapor.
Cleaning & Maintenance
Regular cleaning keeps the Solo 3 V2 performing at its best and ensures pure flavor. Brush out the chamber after every session to remove loose residue. Clean the mouthpiece and vapor path weekly with isopropyl alcohol (90% or higher).
Cleaning Schedule
| Component | Frequency | Method |
|---|---|---|
| Chamber | After each session | Brush, tap out |
| Mouthpiece | Weekly | ISO soak (15 min) |
| Vapor path/screen | Every 2 weeks | ISO soak, rinse |
| Exterior | As needed | Damp cloth |
Common Mistakes to Avoid
- Never use water inside the chamber — only isopropyl or dry cleaning
- Do not use sharp metal tools in the vapor path
- Replace screens when draw resistance increases
Temperature Settings
Choosing the right temperature on the Solo 3 V2 determines flavor, vapor density, and active compound profile. Lower temperatures (170–185 °C) emphasize terpenes and deliver mild, aromatic vapor. Higher temperatures (195–210 °C) produce thicker clouds and stronger effects.
Temperature Zones
| Zone | Range | Result |
|---|---|---|
| Flavor | 170–185 °C | Mild, aromatic, light vapor |
| Balanced | 185–195 °C | Good flavor with visible vapor |
| Dense clouds | 195–210 °C | Thick vapor, stronger effects |
Practical Tips
- Start at 180 °C and increase in 5-degree steps
- Finer grind often needs 5–10 °C lower temperature
- In cold environments, raise starting temp by 5 °C
Battery & Charging
The Solo 3 V2 battery lasts several sessions with typical use. For maximum lifespan, keep the battery between 20% and 80% and avoid deep discharge. USB-C charging with a quality power adapter speeds up charging.
Battery Tips
- Do not leave on the charger permanently — unplug after 100%
- For replaceable batteries: use original or recommended cells
- Battery performance drops in cold — let it warm up before sessions
- Pass-through charging (if supported) allows use while charging
Solo 3 V2 vs Solo 2 MAX
Both Arizer portables with hybrid heating and glass vapor path. The Solo 3 V2 heats up in 15s (vs 30s), has 5000mAh battery and app control. The Solo 2 MAX is ~55 EUR cheaper.
| Feature | Solo 3 V2 | Solo 2 MAX |
|---|---|---|
| Price (from) | ~155 EUR | ~101 EUR |
| Heating | Hybrid | Hybrid |
| Max Temperature | 220°C | 220°C |
| Heat-up Time | 15 seconds | 30 seconds |
| Battery | 5,000 mAh | 3,400 mAh |
| App Control | Yes | No |
| Glass Vapor Path | Yes | Yes |
| Dosing Capsules | Yes | Yes |
| Passthrough Charging | Yes | Yes |
| Water Adapter | Yes | Yes |
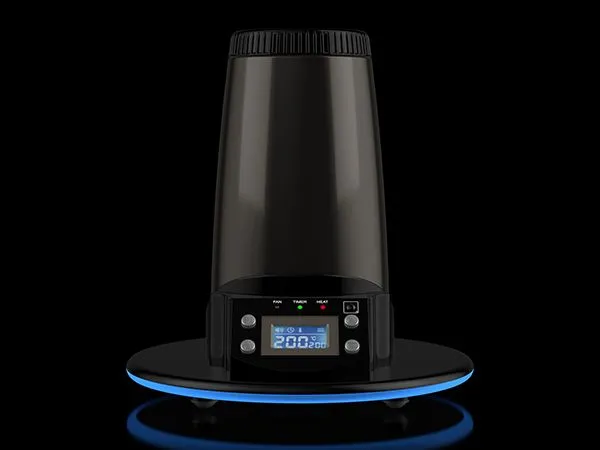
Solo 3 V2 vs Extreme Q
Portable vs Desktop: The Solo 3 V2 is Arizer's best portable with USB-C and 25-second heat-up. The Extreme Q is a desktop with balloon and whip modes, fan assist and goes up to 260°C. The choice depends on where you use it.
| Feature | Solo 3 V2 | Extreme Q |
|---|---|---|
| Price (from) | ~149 EUR | ~109 EUR |
| Type | Portable | Desktop |
| Heating | Convection | Convection |
| Max Temperature | 220°C | 260°C |
| Heat-up Time | ~25 seconds | ~120 seconds |
| Balloon Mode | No | Yes |
| Whip Mode | No | Yes |
| Fan Assist | No | Yes |
| Battery | 3,500 mAh | AC Power |
| USB-C Charging | Yes | – |
| Glass Stems | Yes | Yes |
| Warranty | Lifetime | Lifetime |
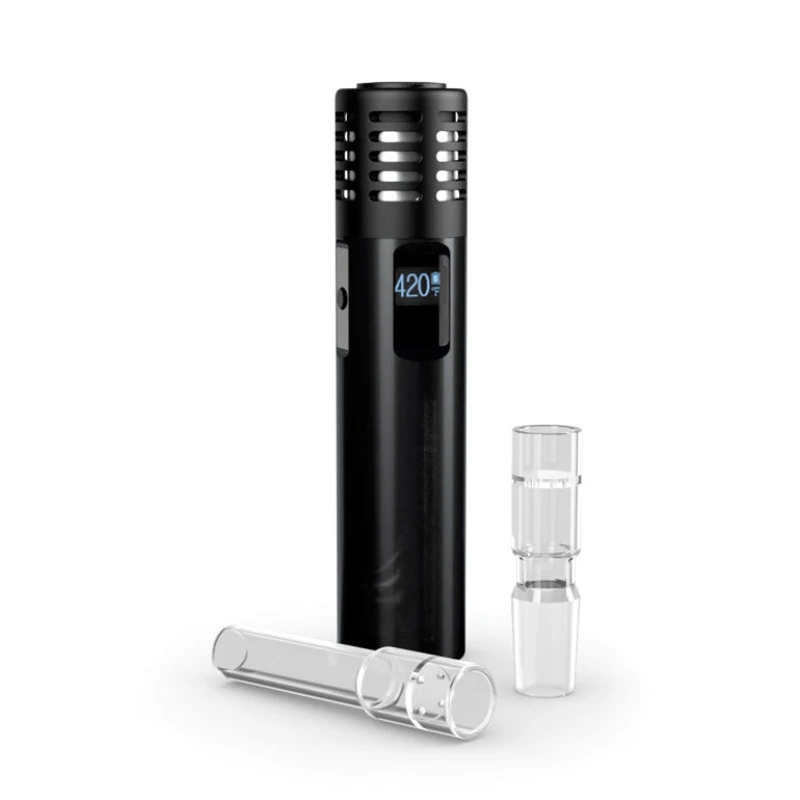
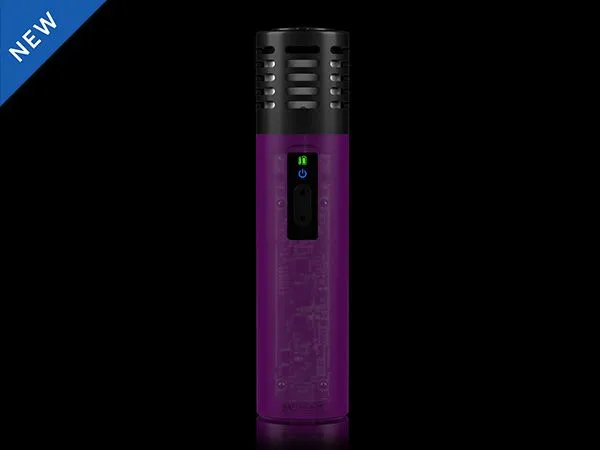
Solo 3 V2 vs Air MAX
Both Arizer portables with convection heating and 220°C. The Solo 3 V2 has a bigger internal battery (3500mAh) and USB-C. The Air MAX has a replaceable 18650 battery (2600mAh) — great for long sessions on the go with spare batteries.
| Feature | Solo 3 V2 | Air MAX |
|---|---|---|
| Price (from) | ~149 EUR | ~129 EUR |
| Heating | Convection | Convection |
| Max Temperature | 220°C | 220°C |
| Heat-up Time | ~25 seconds | ~50 seconds |
| Battery | 3,500 mAh (internal) | 2,600 mAh (18650) |
| Replaceable Battery | No | Yes |
| USB-C Charging | Yes | Yes |
| Glass Stems | Yes (Solo Stem) | Yes (Air Stem) |
| Passthrough Charging | Yes | No |
| Display | Yes (OLED) | Yes (OLED) |
| Weight | ~209 g | ~102 g |
| Warranty | Lifetime | Lifetime |
Product Comparisons 21
Comparison: Solo 3 vs Venty
Comparison: Solo 3 vs Solo 2
Comparison: Solo 3 V2 vs. Air MAX
Comparison: Solo 3 V2 vs. Veazy
Comparison: Solo 3 V2 vs. PAX Flow
Comparison: Solo 3 V2 vs. Crafty+
Comparison: Solo 3 V2 vs. XQ2
Comparison: Solo 3 V2 vs. IQ3
Comparison: Solo 3 V2 vs. HyperDyn
Comparison: Solo 3 V2 vs. Air SE
Comparison: Solo 3 V2 vs. New Proxy
Comparison: Solo 3 V2 vs. Extreme Q
Comparison: Solo 3 V2 vs. Solo 2 MAX
Comparison: Solo 3 V2 vs. ArGo
Comparison: Solo 3 V2 vs. V-Tower
Comparison: Solo 3 V2 vs. IQC
Comparison: Solo 3 V2 vs. Peak
Comparison: Solo 3 V2 vs. Solo 2
Comparison: Solo 3 V2 vs. Zeus Arc GT4
Comparison: Solo 3 V2 vs. Venty
Comparison: Solo 3 V2 vs. Mighty+
Frequently Asked Questions
The Solo 3 heats up in 5-15 seconds, depending on target temperature. At 193°C it takes about 10-12 seconds. That's twice as fast as the Solo 2 (30 seconds).
In Session mode, a continuous 5-20 minute session runs with constant temperature. In On-Demand mode, you start each inhalation individually – the device heats up, you draw, then it cools down. On-Demand preserves your material between draws.
With an XL stem at 193°C, you get 4-6 powerful draws in Session mode. In On-Demand mode, it's 2-5 draws per load, depending on heat level. Regular stems have about half.
Technically yes, but it doesn't make much sense. The Solo 2's heating chamber is shallower, so herb in XL stems sits too close to the seal where there's no heat. On the Solo 3, the chamber is deeper – XL stems work perfectly.
With 5,000 mAh, you get about 10 sessions per charge. That's comparable to the Storz & Bickel Venty and is top-tier for portables. The battery is replaceable; a spare doubles runtime.
193°C (380°F) is the sweet spot according to users and reviews. Below that, AVB stays only brown; above that, the bottom turns blackish. At 193°C you get maximum flavor, thick clouds, and clean AVB.
Yes, two WPA stems (regular + XL) are included. They fit 14mm bubblers. The display automatically rotates when you flip the device. On-Demand mode is ideal for water pipes.
Empty stems immediately after session while warm. Clean the screen holes with a brush. For deeper cleaning: Soak stems in isopropyl alcohol, then rinse with warm water.
Somewhat. At 210g and 11.5cm height, it's larger than the Solo 2. It fits in loose pockets, not tight ones. For on-the-go, a bag or jacket is better. The larger size was necessary for the deeper chamber and bigger battery.
Yes, passthrough charging is supported. You can plug the Solo 3 into USB-C and use it simultaneously. This doesn't preserve battery life, but it works.
80% of the heating is convection (hot air while drawing), 20% is conduction (contact with the warm glass). Conduction keeps the glass preheated, convection extracts while drawing. This is the ideal balance.
Regular stems hold about 0.1g, XL stems about 0.2g. The XL variant has double capacity and delivers proportionally more vapor and effects per session.
Official Resources
Arizer Solo 3 V2 Review 2026Cleaning, dosing capsules, battery, vapor quality — everything in detail. Read the full review →
Solo 3 V2 Guides & Nischen
- Cleaning & Care
- Battery Charging Tips
- Temperature Settings
- Glasmundstücke Guide
- Herb Prep & Grind
- How to Use — Getting Started
- Tips for Dense Vapor
- Reduce Smell
- Microdosing
- Session vs On-Demand
- Troubleshooting & Error Messages
- Efficiency: Vape Economically
- Travel Setup
- Accessory Overview
- Frequently Asked Questions (FAQ)
- Warranty & Repair
- Lifespan & Maintenance Plan
- Review & Long-Term Test
- Safety & Materials
- Solo 3 V2 vs Venty
- Solo 3 V2 vs Mighty+
- Solo 3 V2 vs Crafty+
- Solo 3 V2 vs Solo 2 MAX
- Solo 3 V2 vs Extreme Q
- Solo 3 V2 vs Air MAX
- Solo 3 V2 Alternativen
Featured in Best Lists
Learn More
Overview
Buying Guide
Head-to-Head Comparisons 9
Variants & Editions
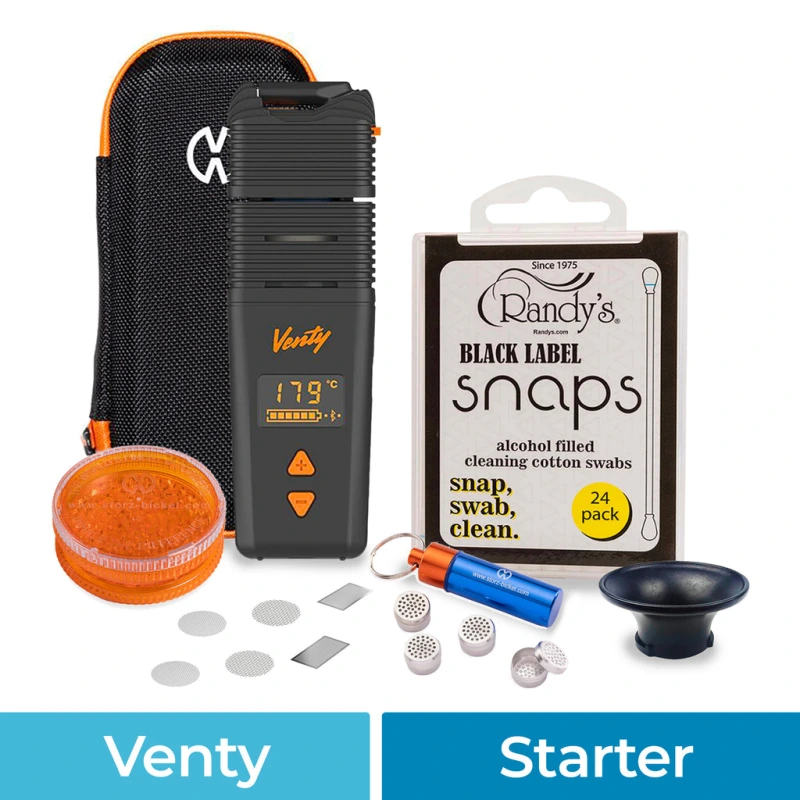
Starter Bundles


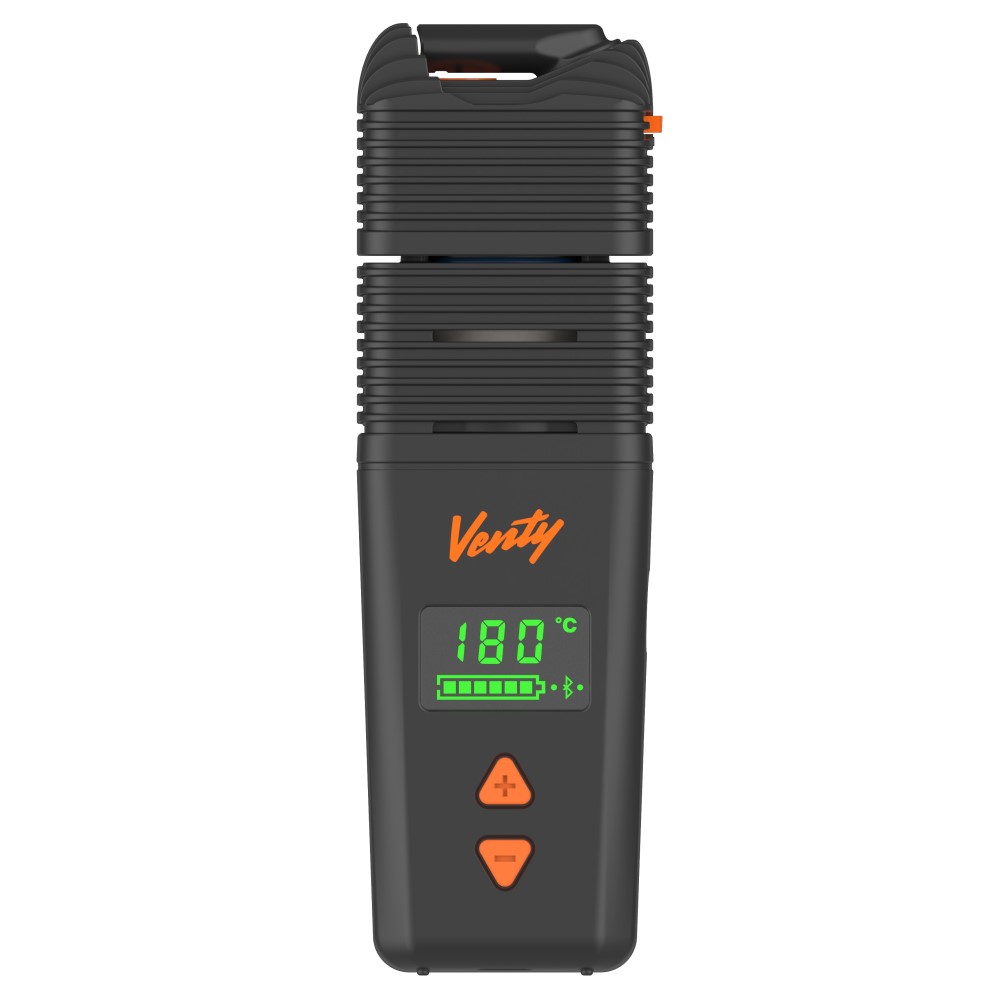
Storz & Bickel Venty
Vaporizer of the Year 2024
Best Price
180,62
€
Available at 40 shops
Get notified for free when the price drops
Pros
- 20-second heat-up time – extremely fast
- Hybrid heating (convection + conduction)
- App control for temperature curves
- Water pipe compatible with excellent vapor output
Cons
- Non-replaceable battery
- No pass-through charging
- 252g relatively heavy for a portable
Price Comparison (144 shops) 181–679 €
Price history is being recorded. Check back in a few days!
Out of Stock
Last updated: 30/03/2026, 2:48 AM
* Some links are affiliate links. We earn a small commission if you purchase through these links — at no extra cost to you.
Waiting for a better deal? — We'll notify you.
Specifications
| Heating Method | Hybrid |
| Device Type | Portable |
| Brand | Storz & Bickel |
| Power Source | Battery |
| Temperature Range | 40°C - 210°C |
| Heat-up Time | 20 seconds |
| Battery Capacity | 3000 mAh |
| Weight | 252 g |
| Dimensions | 15.7 x 5.5 x 3.7 cm |
| Power Consumption | 130 W |
| Fast Charging | 80% in 40 min |
| Airflow | 3.0 - 20.0 l/min |
| Auto Shutoff | 2 min |
| Bluetooth | Yes |
| Certifications | UL 8139, IEC 60335-1 |
| Warranty | 2 years |
| App Control | Yes |
| Dosing Capsules | View dosing capsules |
| Water Pipe | View water pipe adapters |
| Session Mode | Session |
| Temperature Control | Digital |
| Material | Dry Herb |
| Vapor Path | Plastic |
| Battery Type | Internal |
| Battery Count | 2 |
| Replaceable Battery | No |
| Passthrough Charging | Yes |
| Charging Port | usb-c |
| MSRP | 554 € |
Source: OfficialOfficial, OfficialOfficial · Verified 24.02.2026
About this vaporizer
The Venty from Storz & Bickel is a portable vaporizer with a hybrid heating method (convection and conduction) and a 3000 mAh battery. The heat-up time is just 20 seconds - one of the fastest values in the class. The temperature range of 40-210°C covers the entire spectrum from aromatic steam to intensive extraction.
The hybrid heating concept combines convection heat (more even, more efficient) with conduction technology (immediately available). This combination is what sets Storz & Bickel apart – already used successfully in the legendary Crafty and Mighty.
Battery technology: The Li-Ion battery is not replaceable. Pass-through charging is not possible - in order to fully use the battery, it must first be recharged.
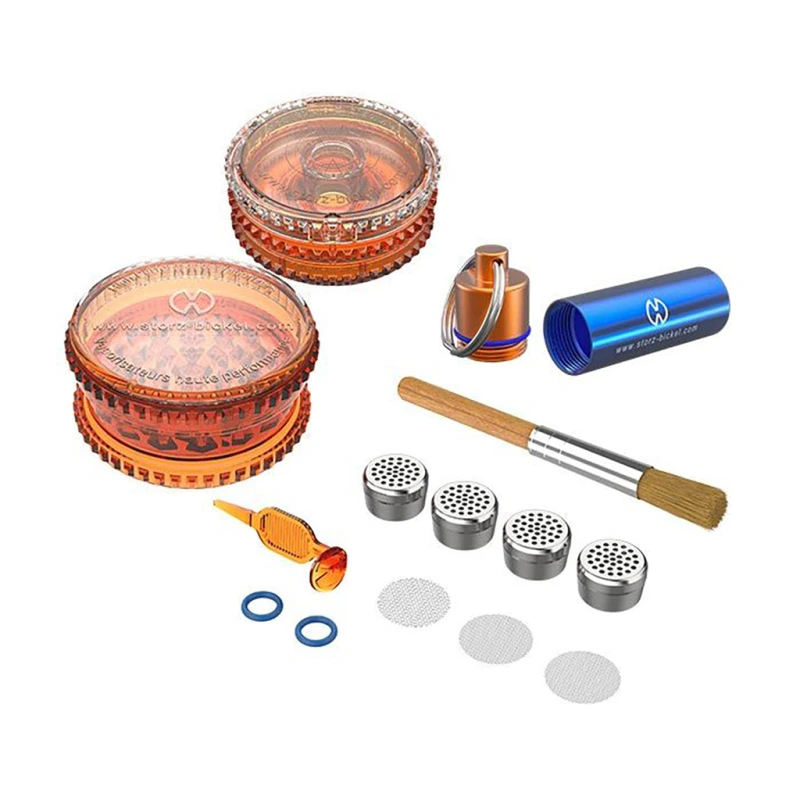
Dosing Capsules are included. These capsules pre-dose the dry herbs, enable quick changes between different herbal mixtures and reduce cleaning. The Venty accepts the standard size (compatible with Mighty, Crafty+).
Bong Compatibility: The Venty has a water adaptable output and is compatible with water pipes and bongs. This enables direct vaping through water filtration - ideal for intense sessions and a smoother vaping experience.
App control via the “My Storz & Bickel” app: program temperature curves, pre-plan sessions and read out device information. Even without an app, the Venty works completely autonomously - the app is an additional feature.
Workmanship: solid plastic/aluminum housing, German workmanship. Simple menu with 4 buttons, digital display, intuitive operation without smartphone dependency.
Guarantee: 2 years on materials and workmanship. Storz & Bickel is known for long-lasting devices and good service.
Target group: Users who value fast heat-up times, hybrid heating methods and app features. Larger sessions with water possible, dosed sessions with capsules on the go. The price positions the Venty in the premium class – like its predecessor Mighty+ with improved technology.
Pros
- 20-second heat-up time – extremely fast
- Hybrid heating (convection + conduction)
- App control for temperature curves
- Water pipe compatible with excellent vapor output
Cons
- Non-replaceable battery
- No pass-through charging
- 252g relatively heavy for a portable
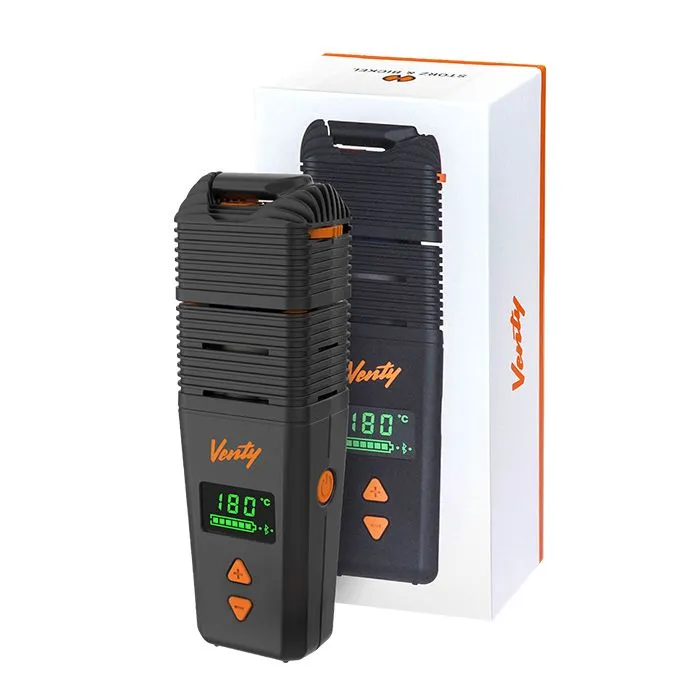
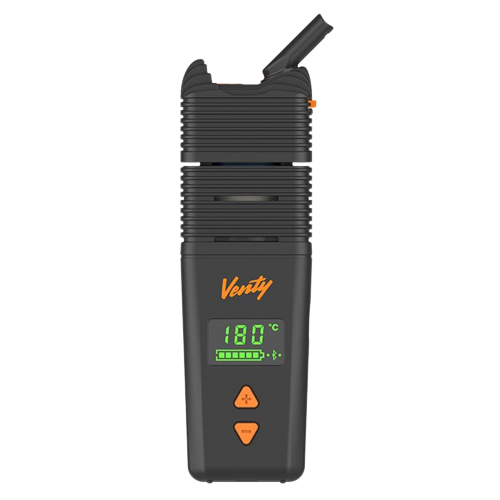
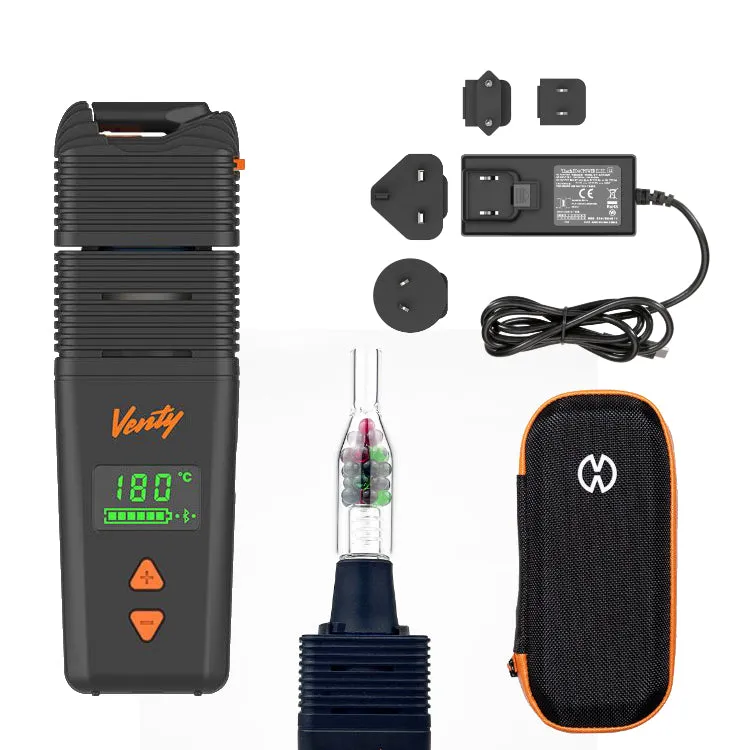
The VENTY by Storz & Bickel is the latest portable vaporizer from the premium German manufacturer based in Tuttlingen, setting new standards in performance and speed. With a heat-up time of just 20 seconds and an innovative hybrid heating system (convection + conduction), the VENTY delivers flavorful, dense vapor from the very first draw.
As the successor to the legendary Mighty+, the VENTY combines Storz & Bickel's proven German engineering with cutting-edge technology: USB-C fast charging, Bluetooth app control, and continuously adjustable airflow make it one of the most versatile vaporizers on the market. With a 2-year warranty (+ 1 year with registration), Storz & Bickel also provides first-class support.
For a head-to-head comparison with the new, more affordable VEAZY, check out our VEAZY vs. VENTY comparison.
See also: Mighty+ · Volcano Hybrid · Crafty+ · Volcano Classic
Usage & Operation
The Venty by Storz & Bickel is the brand's fastest portable vaporizer. Hybrid heating, an adjustable airflow wheel, and USB-C supercharging make it a true all-rounder. It's ready to go in about 20 seconds.
1. First Charge
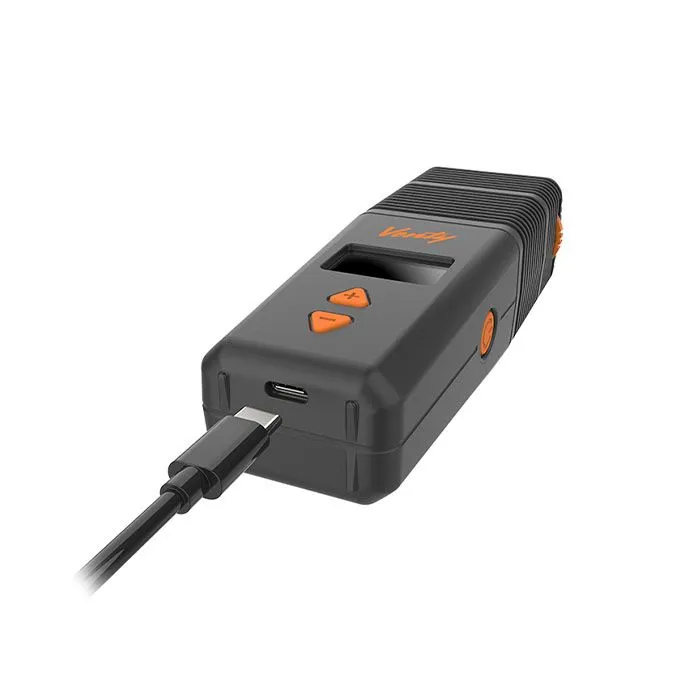
Plug in the included USB-C cable to a charger with at least 25 W output. The 3000 mAh battery hits 80 % in roughly 40 minutes thanks to supercharging. You can vape while it charges (passthrough). The LED display blinks during charging and goes solid when the battery is full.
2. Load the Chamber
Twist the cooling unit counter-clockwise to remove it. Grind your herbs medium-fine and fill about 0.15 g loosely into the chamber. Even easier: pop in a dosing capsule to save cleanup time and speed up reloading on the go. Don't tamp it down – air needs to pass through freely. Snap the cooling unit back on.
3. Set Your Temperature
Press the power button once. The display shows current and target temperature. The Venty heats up in about 20 seconds – noticeably faster than other S&B devices. Here's where to start:
- 175 °C / 347 °F – pure flavor, light vapor
- 185 °C / 365 °F – balanced, flavor plus solid clouds
- 195 °C / 383 °F – thicker clouds, less aroma
- 210 °C / 410 °F – max extraction
The Storz & Bickel app lets you save custom presets and activate the booster function.
4. Draw Technique and Airflow Wheel
The Venty has an adjustable airflow wheel on the bottom. Turn it right for less resistance and bigger clouds. Turn it left for a tighter draw with more concentrated flavor. Pull slowly and steadily for 10–12 seconds. A session runs for about 5 minutes before auto-shutoff kicks in.
5. After Your Session
Press the power button to turn it off. Let the unit cool for a minute. Twist off the cooling unit, tap out the chamber, and brush it clean with the included brush. Soak the cooling unit in isopropyl alcohol every 5–10 sessions to keep the air path clear and the flavor fresh.
5 Common Beginner Mistakes
- Packing the chamber too tight – Blocked airflow means almost no vapor. A loose fill is all you need.
- Ignoring the airflow wheel – Many people don't even know it's there. Try different settings – the difference is huge.
- Starting at 210 °C – Your first hit will taste harsh. Begin at 175–185 °C and step up.
- Skipping cooling unit cleaning – Resin builds up after just a few sessions. Clogged cooling channel = poor draw.
- Using a slow charger – A 5 W charger takes forever. Grab at least 25 W for supercharging speeds.
Temperature Settings & Booster Function
The VENTY offers precise temperature control over a range of 40°C to 210°C (104°F to 410°F). Temperature can be adjusted directly on the device using the "+" and "–" buttons, or via the Web App for even more precise calibration.
Three Temperature Modes:
| Mode | Temperature | Activation | Display |
|---|---|---|---|
| Base | 180°C (Default) | Automatic on power-up | °C/°F symbol steady |
| Booster | +15°C above base | Double-click power button | °C/°F symbol blinking |
| Superbooster | +30°C above base | Double-click in Booster mode | °C/°F symbol fast blinking |
Important: Booster/Superbooster automatically deactivates after 90 seconds and returns to base temperature. A green light and double vibration indicate the desired temperature has been reached.
Tip: To switch between Celsius and Fahrenheit, press "+" and "–" simultaneously for 5 seconds.
Vapor Cooling
The VENTY features an integrated cooling unit that cools the vapor before inhalation. This ensures a smooth, pleasant inhalation experience. The actual inhalation temperature is influenced by:
- Chamber fill level
- Draw intensity and speed
- Selected temperature setting
📺 Official Video: Temperature Settings
Adjustable Airflow
A special feature of the VENTY is its continuously adjustable airflow via the dial on the bottom of the device. This allows each user to customize draw resistance to their preference:
| Level | Notches | Airflow | Recommended for |
|---|---|---|---|
| Low | 1 notch visible | ~3 l/min | Beginners, concentrated flavor |
| Medium | 2 notches visible | ~10 l/min | Most users, balanced |
| High | 3 notches visible | 20 l/min | Experienced users, big clouds |
The innovative flowmeter in the VENTY measures the negative pressure during inhalation and dynamically adjusts heating power – ensuring optimal vapor production with every draw.
How to Set the Airflow: Practice Over Theory
In practice, the VENTY's vapor output depends not just on temperature, but on the combination of airflow, draw duration, and chamber condition. For consistent sessions, start with a fixed setup and change only one variable at a time. This helps you find your personal sweet spot faster.
| Goal | Airflow | Starting Temp | Recommendation |
|---|---|---|---|
| Maximum flavor | Low to Medium | 175–185 °C | Long, slow draws; increase to 190–195 °C later |
| Balanced session | Medium | 185–195 °C | After 3–5 draws, raise to 195–200 °C |
| Dense clouds | Medium to High | 195–205 °C | Use Booster toward the end of the session |
| Quick session on the go | High | 190–200 °C | 3–6 strong draws, then pause instead of continuous use |
Common Airflow Mistakes with the VENTY
- Too low temperature at maximum airflow: often produces thin vapor and unnecessarily long sessions.
- Overpacked chamber: artificially increases draw resistance and reduces convection efficiency.
- Quick, short draws: better to inhale steadily for 4–8 seconds rather than short, hard puffs.
- Neglected cleaning: residue in the cooling unit changes airflow behavior and degrades flavor.
Users switching from the Mighty+ to the VENTY benefit most from the more versatile draw character. This makes the VENTY the better choice for many in varying situations: relaxed at home with medium airflow or on the go with open airflow for quick, strong draws.
Video Review (DE): Vaping Lee
Battery & Charging
The VENTY is equipped with two powerful lithium-ion batteries and supports USB-C Power Delivery for fast charging.
Charging Options:
- Fast charging (recommended): 80% in just 40 minutes with the official STORZ & BICKEL USB-C Supercharger (15V @ 3A). The display shows fast blinking during fast charging.
- Standard charging: Possible with other USB-C chargers, but takes significantly longer. The display shows slow blinking.
- ECO charging mode: Activatable via the Web App – optimizes charging speed and extends battery life through moderated power delivery.
Important note: The VENTY does not support pass-through charging (charging while in use). Since the device requires over 100 watts during operation, this exceeds the maximum power output of USB-C chargers.
When all six status fields on the display are constantly lit, the battery is fully charged. The charger should always be disconnected after charging.
Real-World Battery Life
Storz & Bickel advertises about 20 sessions per charge – in daily use, expect 10 to 14 sessions realistically. Heavy use of Booster or Superbooster mode drains the battery noticeably faster. The battery consists of two 18650 lithium-ion cells with a combined capacity of 5,940 mAh and is not user-replaceable.
From a user perspective, multiple reviews rate the battery as mid-range — particularly at higher temperatures and heavy use. At the same time, the fast USB-C charging is highlighted as a clear advantage.
According to Friendly Aussie Buds (24 June 2025), VENTY availability can vary considerably depending on the country and regulatory framework (in the video specifically referencing Australia).
Real-World Battery Life: Realistic Expectations
Actual battery life depends heavily on temperature, airflow setting, and draw behavior. At moderate settings, more sessions are possible than at constantly high temperatures with open airways and Booster use. The following table provides orientation:
| Usage Profile | Typical Setting | Battery Trend |
|---|---|---|
| Flavor-focused | 175–190 °C, airflow low/medium | Higher |
| Balanced | 185–200 °C, airflow medium | Medium |
| Cloud-focused | 195–210 °C, airflow high, Booster active | Lower |
Tips for Better Battery Efficiency
- Don't start at 210 °C unnecessarily: better to increase gradually when needed.
- End sessions deliberately: turn off after target extraction instead of letting it run idle.
- Use ECO charging mode wisely: useful for users who prioritize long-term battery health.
- Use suitable chargers: stable USB-C PD chargers reduce charging times significantly.
Pass-Through and Charging in Practice
The VENTY does not support pass-through charging. This is not a defect but a deliberate design decision due to the high power requirements during operation. For many users, a second charging setup makes sense (e.g. one charger at home and one for travel), so spontaneous sessions don't fail due to a dead battery.
For buyers focused on daily usability, the combination of fast charging, clear remaining capacity display, and stable session performance matters most. These points are highlighted positively in multiple reviews, even though absolute battery life is perceived differently depending on usage style.
Video Review (EN): Friendly Aussie Buds
Operation & Usage
Safety Instructions Before First Use:
- Fully charge VENTY with the included USB-C cable
- Check device and power supply for visible damage – do not use damaged devices
- Check airflow: mouthpiece and cooling unit must be free of foreign objects
- Do not block air vents during operation or cooling
Filling the Chamber:
- Turn cooling unit 90° counter-clockwise and remove
- Fill ground herbs up to the plastic rim – do not overfill or pack tightly!
- Replace cooling unit and turn 90° clockwise to secure
Tip: When using dosing capsules, airflow may be slightly restricted.
Using Concentrates
The VENTY does not come with a dedicated concentrate adapter. For waxes or oils, use the Storz & Bickel Liquid Pads (15 mm). Place the pad in the filling chamber to prevent concentrate from seeping into the device. A set costs around €10 and is sold separately. For concentrates, a lower temperature around 180°C works best.
Vaporizing – Step by Step:
- Turn on device with long button press and wait for green light (~20 seconds)
- Fold out mouthpiece
- Inhale steadily for a few seconds – only about half as deep as possible
- Hold breath for a few seconds
- Exhale slowly
Important: Never blow into the device! Pay attention to body reactions (coughing, chest discomfort) – consult a doctor if in doubt. Automatic shut-off occurs after 2 minutes of inactivity.
Cleaning & Maintenance
Regular cleaning is essential for optimal vapor quality and longevity of the VENTY. Storz & Bickel recommends cleaning the screens with the included brush after each use.
Before Cleaning:
- Turn off vaporizer and let it cool down
- Disconnect USB-C cable
- Remove filling chamber screen
- Wipe housing only with a dry or slightly damp cloth – never wet!
Method 1: Warm Soapy Water (gentle)
- Soak cooling unit and all screens in warm soapy water for at least 5 minutes
- Rinse thoroughly under running water for at least 1 minute
- Let dry completely before reinserting
Method 2: Isopropyl Alcohol (for stubborn residue)
- Soak parts in isopropyl alcohol for maximum 30 minutes
- Rinse thoroughly under running water (at least 1 minute)
- Let dry completely – no alcohol residue!
Check regularly: Inspect all parts for cracks, discoloration, brittleness, or damage. Replace damaged parts immediately – replacement parts are available from Storz & Bickel.
Wear Parts & Replacement Costs
Screens and sealing rings are the typical wear parts on the VENTY. Depending on usage, they should be replaced every 3 to 6 months. Storz & Bickel offers Wear & Tear Sets for around €30–50 that include all common replacement parts. Original spare parts are available directly from the Storz & Bickel online shop.
📺 Official Video: Cleaning
STORZ & BICKEL Web App
The VENTY can optionally be controlled via the STORZ & BICKEL Web App. The app is not required for operation but offers extended features:
- Precise temperature calibration – set custom values for Base, Booster, and Superbooster
- Adjust display brightness (levels 0-9)
- Activate ECO charging mode for longer battery life
- Firmware updates – always the latest software for optimal performance
- Device diagnostics and error analysis
- Device reset to factory settings
Connecting:
- Enable Bluetooth on your smartphone/tablet
- Open browser (recommended: Bluefy on iOS, Chrome on Android)
- Visit app.storz-bickel.com
- Turn on VENTY
- Follow the Bluetooth pairing instructions on screen
Tip: Firmware should be updated regularly to ensure best performance and future compatibility.
Firmware Issues & Error Codes
Earlier firmware versions occasionally triggered error codes E04 and E05 – usually related to temperature sensor faults or communication issues. The firmware update to version 1.07 has largely resolved these problems. If you have trouble connecting to the Web App: it relies on the Web Bluetooth API, which is not supported by all browsers. Chrome works most reliably – Safari and Firefox may cause connection drops.
📺 Official Video: Web App Setup
Disassembly & Assembly
For thorough cleaning or replacement of wear parts, the VENTY can be disassembled. Follow these steps to remove the cooling unit and all screens.
Disassembly:
- Open mouthpiece: Place the edge of the mouthpiece into the notch on the rotating cap and turn counter-clockwise to open and remove.
- Remove sealing ring: Pull the sealing ring off the rotating cap at the recess.
- Remove cooling unit cap: Carefully pull the cooling unit cap off the vaporizer.
- Remove cooling unit screen: Pull out the screen in the cooling unit.
- Release adjustment wheel: Use the filling chamber tool to push the adjustment wheel out of the cooling unit. The sealing ring will fall out.
- Unscrew cooling unit base: Turn the cooling unit base 90° counter-clockwise off the vaporizer.
- Remove filling chamber screen: Gently push the screen out from above with a cotton swab.
- Release base sealing ring: Pry out the large base sealing ring with the filling chamber tool at the recess in the slot.
Assembly:
Follow the instructions in reverse order. Note:
- Place the sealing ring directly on the airflow adjustment wheel – the "TOP" label must face up
- Ensure all sealing rings are properly seated and not kinked
- Insert screens into their designated grooves
- Turn cooling unit 90° clockwise to secure
Important: Damaged or deformed sealing rings should be replaced immediately to ensure optimal air-tightness and vapor quality. Replacement parts are available directly from Storz & Bickel.
📺 Official Video: Assembly
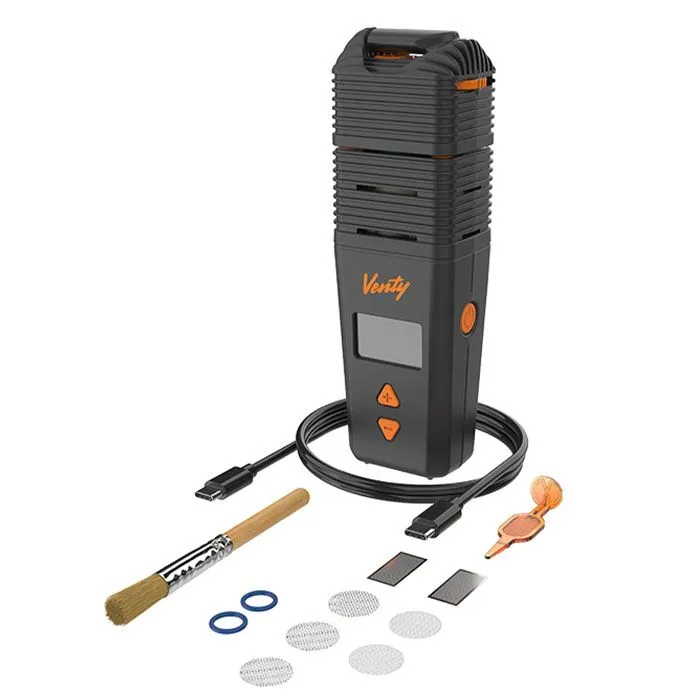
What's in the Box
Included with the VENTY:
- 1× VENTY Vaporizer
- 1× USB-C Cable (USB-C to USB-C)
- 1× Filling Chamber Tool
- 1× Cleaning Brush
- 2× O-Ring Ø 9×1.5 mm (spare)
- 2× Normal Screens, small
- 3× Coarse Screens, small
- 2× Cooling Unit Screens
- 1× Quick Start Guide
Note: A charger is not included. For optimal fast charging, the official STORZ & BICKEL USB-C Supercharger is recommended as optional accessory.

Technical Specifications
| Type | Portable |
| Heating | Hybrid (Convection + Conduction), patented |
| Temperature range | 40-210 °C |
| Temperature control | Digital display + Web App, 1 °C increments |
| Heat-up time | ~20 seconds |
| Battery | 5940 mAh, USB-C, ~20 sessions per charge |
| Weight | 252 g (incl. filling chamber) |
| Dimensions | 15.7 × 5.5 × 3.7 cm |
| Power source | Rechargeable Li-Ion battery |
| Auto shutoff | After 5 minutes (configurable via App: 1-5 min) |
| Vibration | Yes (adjustable via App) |
| Airflow | Adjustable (3 positions: low/medium/high via Setting Wheel) |
| Filling chamber | Ceramic-coated, ~200 mg (incl. dosing capsule adapter) |
| App | Storz & Bickel Web App (Bluetooth) |
| Passthrough charging | No |
| Battery replaceable | No |
| Dosing capsules | Compatible |
| Water pipe compatible | Yes (with adapter) |
| Colors | Graphite Grey (standard) |
| Warranty | 2 years + 1 year with registration |
| RRP | 349 € |
| Manufacturer | Storz & Bickel GmbH, Tuttlingen, Germany |
| Release year | 2023 |
Temperature Settings
Choosing the right temperature on the Venty determines flavor, vapor density, and active compound profile. Lower temperatures (170–185 °C) emphasize terpenes and deliver mild, aromatic vapor. Higher temperatures (195–210 °C) produce thicker clouds and stronger effects.
Temperature Zones
| Zone | Range | Result |
|---|---|---|
| Flavor | 170–185 °C | Mild, aromatic, light vapor |
| Balanced | 185–195 °C | Good flavor with visible vapor |
| Dense clouds | 195–210 °C | Thick vapor, stronger effects |
Practical Tips
- Start at 180 °C and increase in 5-degree steps
- Finer grind often needs 5–10 °C lower temperature
- In cold environments, raise starting temp by 5 °C
Product Comparisons 12
Comparison: Venty vs. Volcano Classic
Comparison: Venty vs. PAX Flow
Comparison: Venty vs. Veazy
Comparison: Venty vs. Plenty
Comparison: Venty vs. Solo 3 V2
Comparison: Venty vs. IQ3
Comparison: Venty vs. New Proxy
Comparison: Venty vs. HyperDyn
Comparison: Venty vs. Peak
Comparison: Venty vs. Mighty
Comparison: Venty vs. PAX Plus
Comparison: Venty vs. Air MAX
Frequently Asked Questions
The VENTY heats up to the set temperature in just 20 seconds – that's three times faster than its predecessor, the Mighty+. A green light and double vibration indicate the device is ready to use.
The VENTY offers a temperature range of 40°C to 210°C (104°F to 410°F) with 1-degree increments. The default base temperature is 180°C but can be adjusted as desired.
With two powerful lithium-ion batteries, the VENTY offers multiple sessions per charge depending on temperature and usage. With the USB-C Supercharger, the battery reaches 80% in just 40 minutes.
No, the VENTY does not support pass-through charging. Since it requires over 100 watts during operation, this exceeds the power output of any USB-C charger.
Yes! The VENTY is fully compatible with original Storz & Bickel dosing capsules, which are also used with Mighty+, Crafty+, Volcano Hybrid, and Plenty.
Booster increases temperature by +15°C above base. Superbooster increases by +30°C for maximum extraction. Both modes automatically deactivate after 90 seconds.
The cooling unit and screens can be soaked in warm soapy water (at least 5 minutes) or isopropyl alcohol (max 30 minutes). Then rinse thoroughly and let dry completely. Screens should be cleaned with the brush after each use.
No, the STORZ & BICKEL Web App is optional. The VENTY works fully without the app. However, the app offers additional features like precise temperature calibration, firmware updates, and ECO charging mode.
The VENTY is the more modern successor with: 3× faster heat-up (20s vs. 60s), USB-C instead of proprietary charging port, adjustable airflow, more compact design, and dynamic heating adjustment through the integrated flowmeter.
Storz & Bickel provides a 2-year manufacturer warranty (+ 1 year with registration at storz-bickel.com) on the VENTY. Registration is done via the official website or Web App.
Yes! The VENTY has a continuously adjustable airflow wheel on the bottom. From 1 notch (low resistance, ~3 l/min) to 3 notches (free draw, 20 l/min), everyone can set their preferred draw resistance.
The VENTY, like all Storz & Bickel products, is designed and manufactured in Germany – in Tuttlingen, the medical technology capital of Germany. All materials in the air path are biocompatible and heat-resistant.
For disassembly: Place mouthpiece in the notch and turn counter-clockwise, remove cooling unit cap, pull out screens, and use the filling chamber tool to release the adjustment wheel. When reassembling, pay attention to the "TOP" label on the adjustment wheel and insert all sealing rings correctly.
For your first sessions, the medium setting usually works best: enough air for comfortable draws, but still enough resistance for controlled inhalation. Start at around 185 °C and gradually adjust airflow or temperature from there.
High airflow alone is not enough. If the temperature is too low, the chamber is packed too tightly, or draws are too short, extraction stays weak. Steady draws of 5–8 seconds, a loose fill, and a temperature range of about 190–200 °C usually help.
This depends on local laws and approval regulations. In some markets (e.g. according to Friendly Aussie Buds in Australia, as of 24 June 2025), regulatory requirements can restrict the sale of certain models.
Start with moderate temperatures (e.g. 185–195 °C), use Booster only when needed, and turn the device off promptly after each session. This reduces consumption noticeably without significantly affecting vapor quality.
Official Resources
Venty Review 2026Cleaning, dosing capsules, battery, vapor quality — everything in detail. Read the full review →
Venty Guides & Nischen
- Cleaning & Care
- Battery Charging Tips
- Temperature Settings
- Airflow Settings
- Herb Prep & Grind
- Dosing Capsule Guide
- Troubleshooting & Error Messages
- How to Use — Getting Started
- Tips for Dense Vapor
- Reduce Smell
- Venty vs Mighty+
- Venty vs Tinymight 2
- Venty vs Crafty+
- Venty vs Fenix Neo
- Venty vs Dynavap
- Venty vs Volcano Hybrid
- Venty Alternatives
- Medical Use: Notes
- Microdosing
- Session vs On-Demand
- Travel Setup
- Evening Relax Profiles
- Avoid Beginner Mistakes
- Efficiency: Vape Economically
- Accessory Overview
- Best Dosing Capsules
- Clean & Replace Cooling Unit
- Mouthpiece Comparison
- Replace Screens & O-Rings
- Case & Transport Protection
- Original vs Third-Party Accessories
- Frequently Asked Questions (FAQ)
- Warranty & Repair
- Lifespan & Maintenance Plan
- Review & Long-Term Test
- Updates: Firmware & App
- Safety & Materials
Featured in Best Lists
Learn More
Overview
Direct Comparisons
Buying Guide
Variants & Editions

Starter Bundles


Arizer Solo 3 V2 Review 2026Cleaning, dosing capsules, battery, vapor quality — everything in detail. Read the full review →
Solo 3 V2 Guides & Nischen
- Cleaning & Care
- Battery Charging Tips
- Temperature Settings
- Glasmundstücke Guide
- Herb Prep & Grind
- How to Use — Getting Started
- Tips for Dense Vapor
- Reduce Smell
- Microdosing
- Session vs On-Demand
- Troubleshooting & Error Messages
- Efficiency: Vape Economically
- Travel Setup
- Accessory Overview
- Frequently Asked Questions (FAQ)
- Warranty & Repair
- Lifespan & Maintenance Plan
- Review & Long-Term Test
- Safety & Materials
- Solo 3 V2 vs Venty
- Solo 3 V2 vs Mighty+
- Solo 3 V2 vs Crafty+
- Solo 3 V2 vs Solo 2 MAX
- Solo 3 V2 vs Extreme Q
- Solo 3 V2 vs Air MAX
- Solo 3 V2 Alternativen
Featured in Best Lists
Learn More
Overview
Buying Guide
More Arizer Vaporizers 4
Similar Vaporizers 6
Head-to-Head Comparisons 9
Arizer Solo 3 V2 vs Air MAX: Which Arizer Suits You?
Arizer Solo 3 V2 vs Air MAX: Which One Is Worth It?
Arizer Solo 3 V2 vs DynaVap M7: Electric or Butane?
Arizer Solo 3 V2 vs Solo 2 MAX: Which Solo Is Worth It?
Arizer Solo 3 V2 vs. Crafty+: Is the €35 Extra Worth It?
Arizer Solo 3 V2 vs. Mighty+: Same Price, Different World
Arizer Solo 3 V2 vs. Venty: The Cheaper Device Wins on Paper
Tinymight 2 vs. Solo 3 V2: On-Demand vs. Session
XMAX V4 Pro vs Arizer Solo 3 V2: Budget Convection or Premium Hybrid?
Compatible Accessories
✓ Official Accessories (94)

Arizer
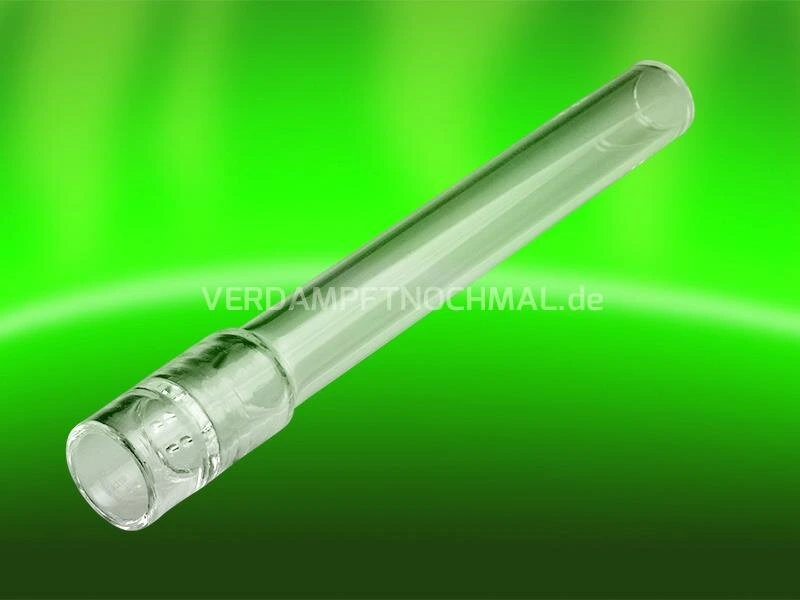
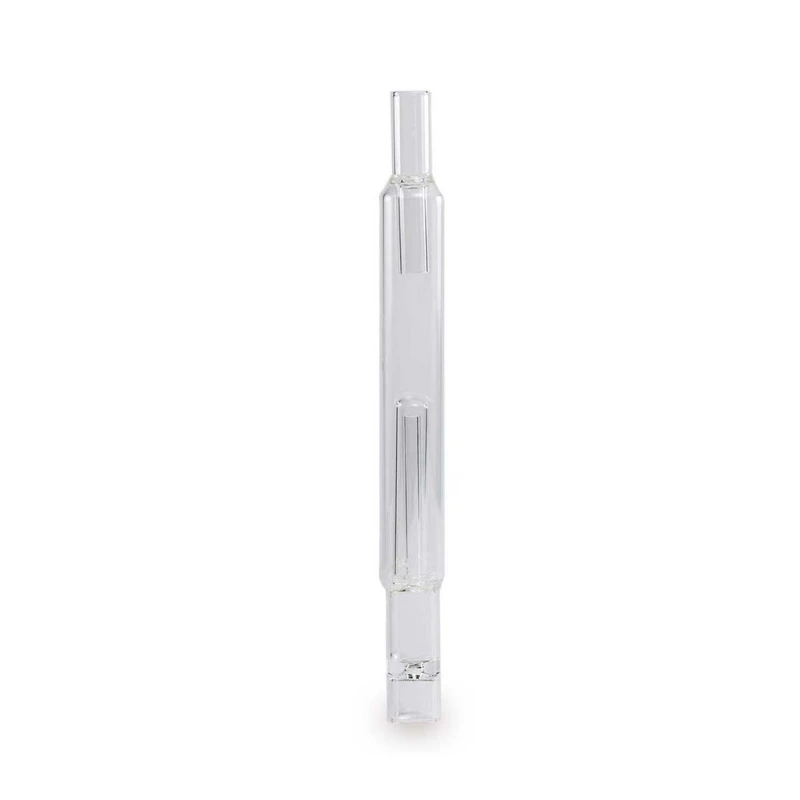
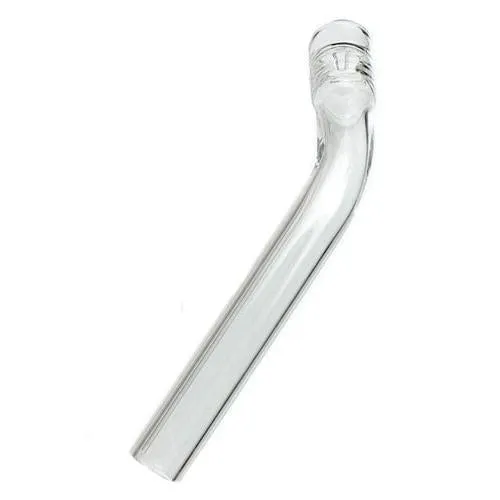
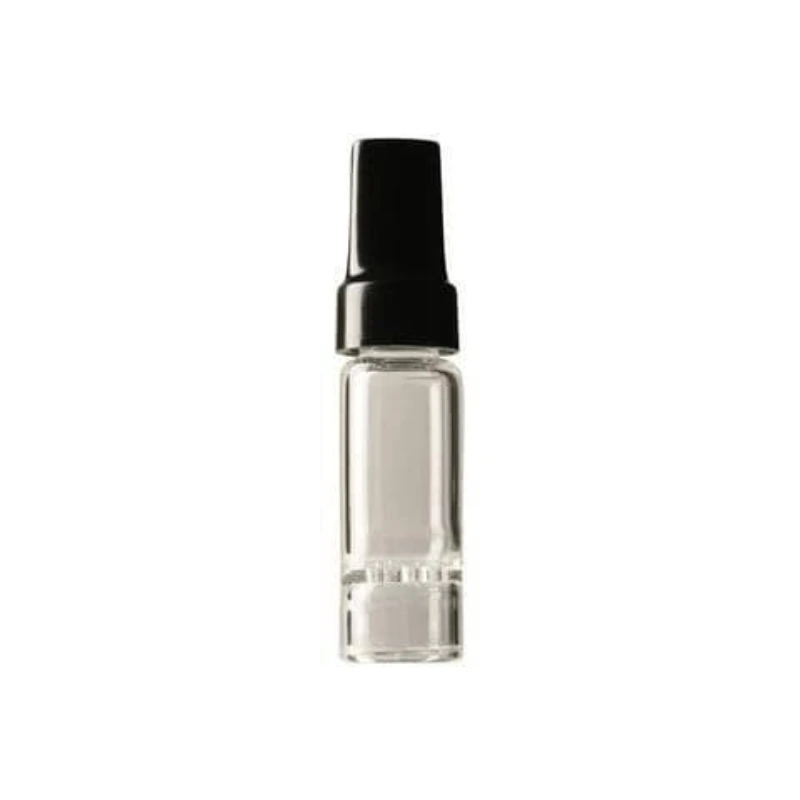
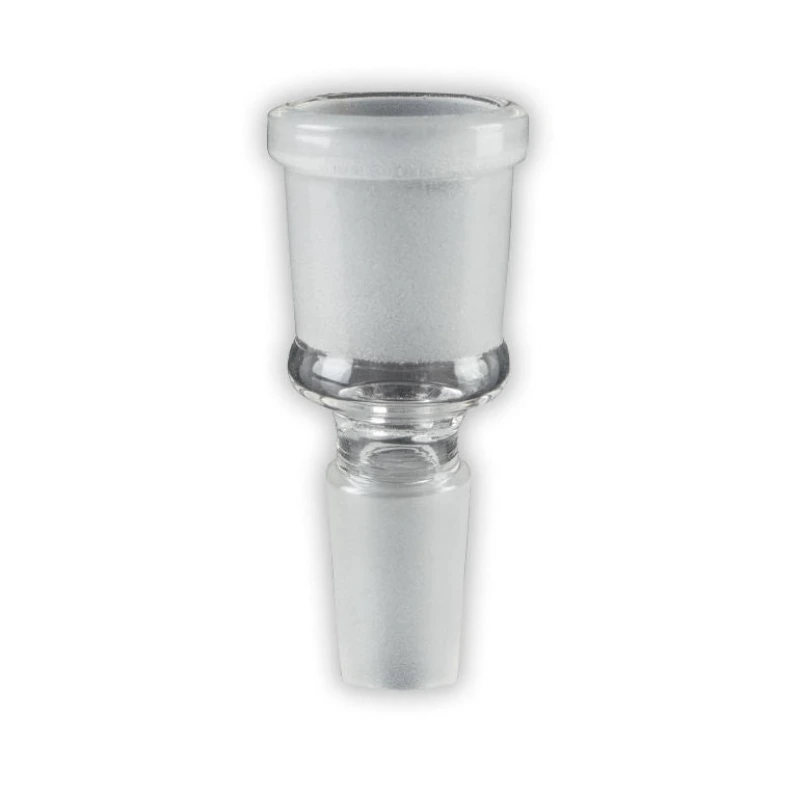
Air / Solo - Curved Glass Mouthpiece
from 15,00 €
2 shops

Arizer
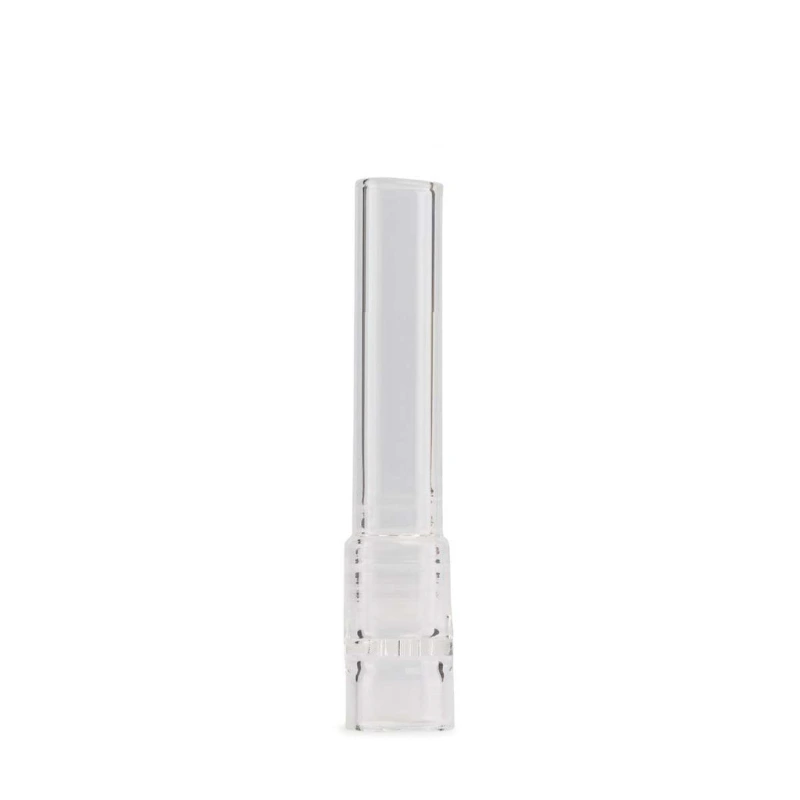
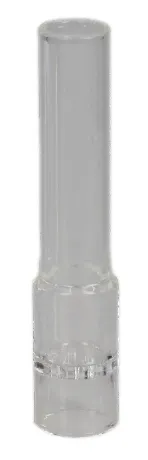
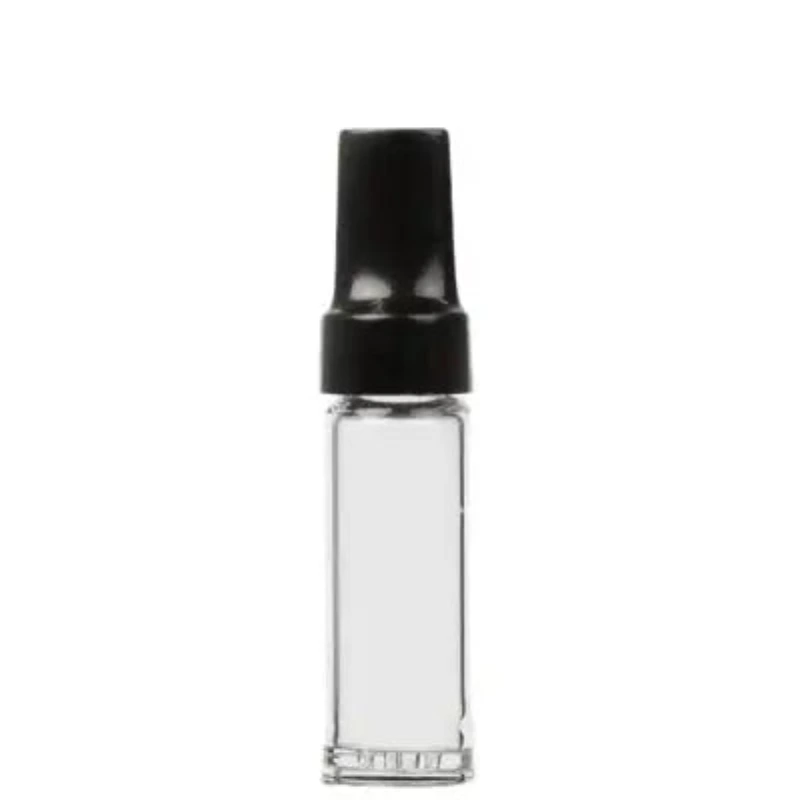
ArGo - Mouthpiece Frosted
from 8,49 €
5 shops
Arizer
ArGo Silicone Caps for Mouthpieces (4 pieces)
from 8,99 €
5 shops

Arizer
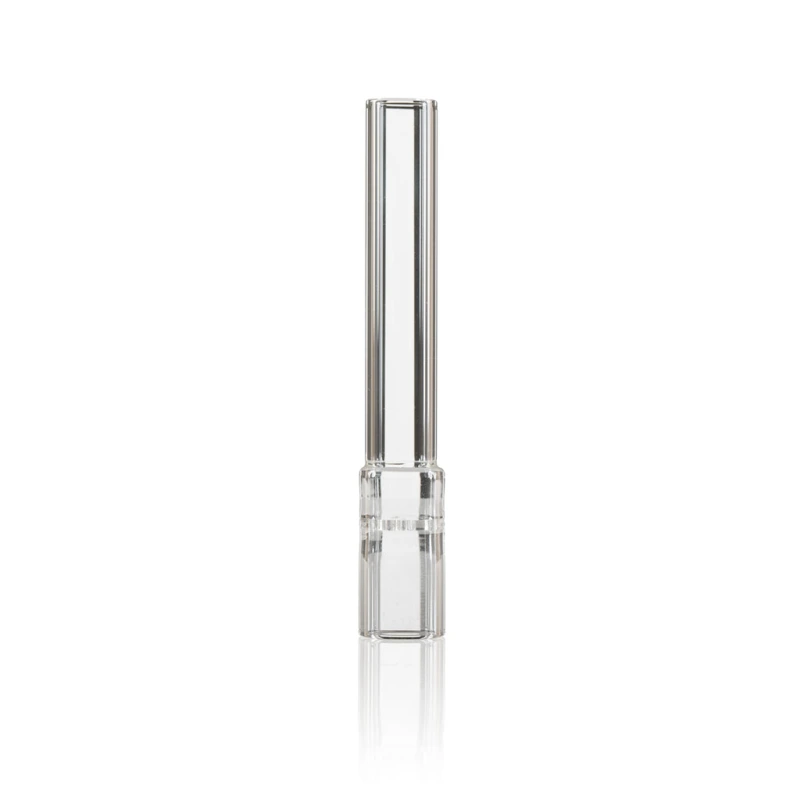
Arizer | Air / Solo Tipped Glass Aroma Tube
from 9,37 €
3 shops

Arizer
Arizer Air MAX | Solo Aroma Mouthpiece made of Glass
from 9,95 €
2 shops
Arizer
Arizer Air MAX | Solo Aroma-Mouthpiece - 110 mm
from 12,90 €
2 shops
Arizer
Arizer Air Mouthpiece Tip
from 2,18 €
30 shops
Arizer
Arizer Air/Solo Curved Mouthpiece
from 8,64 €
9 shops
Arizer
Arizer Frosted Glass Mouthpiece
from 6,50 €
18 shops
Arizer
Arizer Go Mouthpiece
from 6,24 €
21 shops

Arizer
Arizer Solo 2 Air Max Glass Mouthpiece
from 9,90 €
3 shops
Arizer
Arizer Solo Straight Mouthpiece
from 8,64 €
3 shops
Arizer
Black Glass Mouthpiece for Arizer Air, Air 2, Air MAX, Solo, Solo 2, Solo 2 MAX, Solo 3
from 6,84 €
3 shops
Arizer
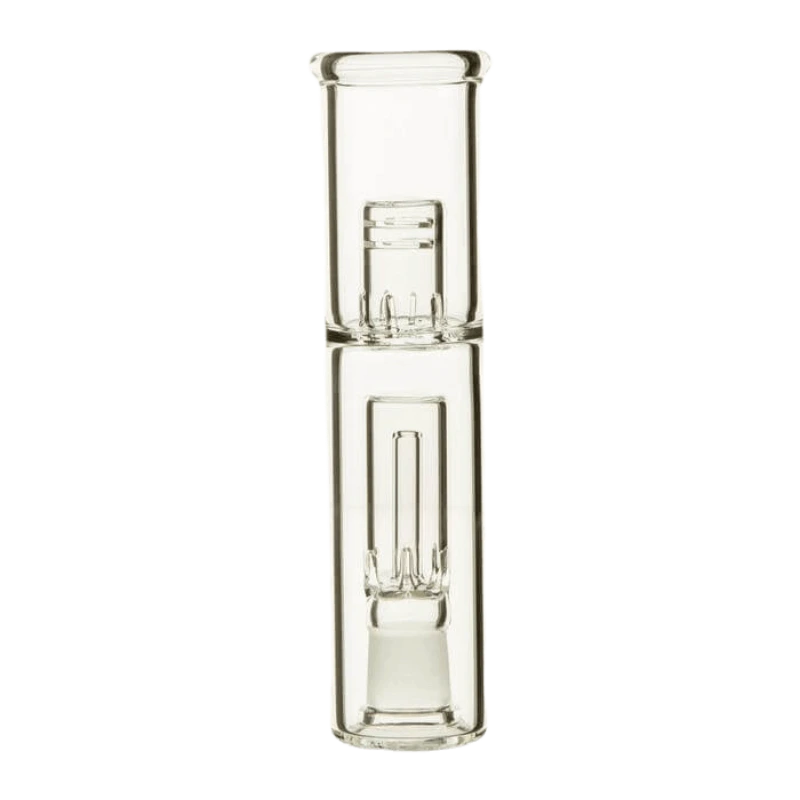
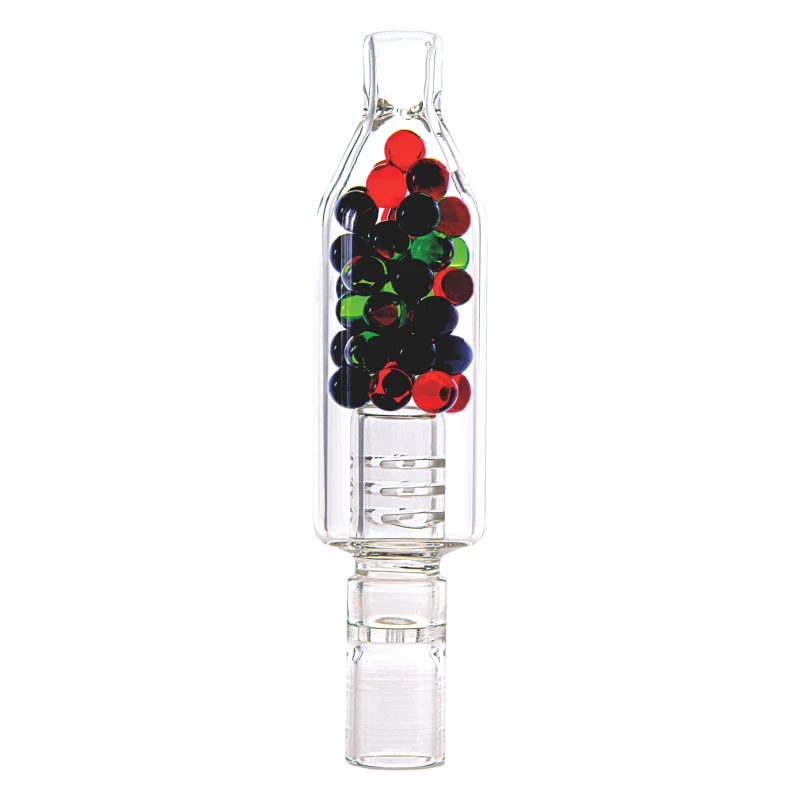
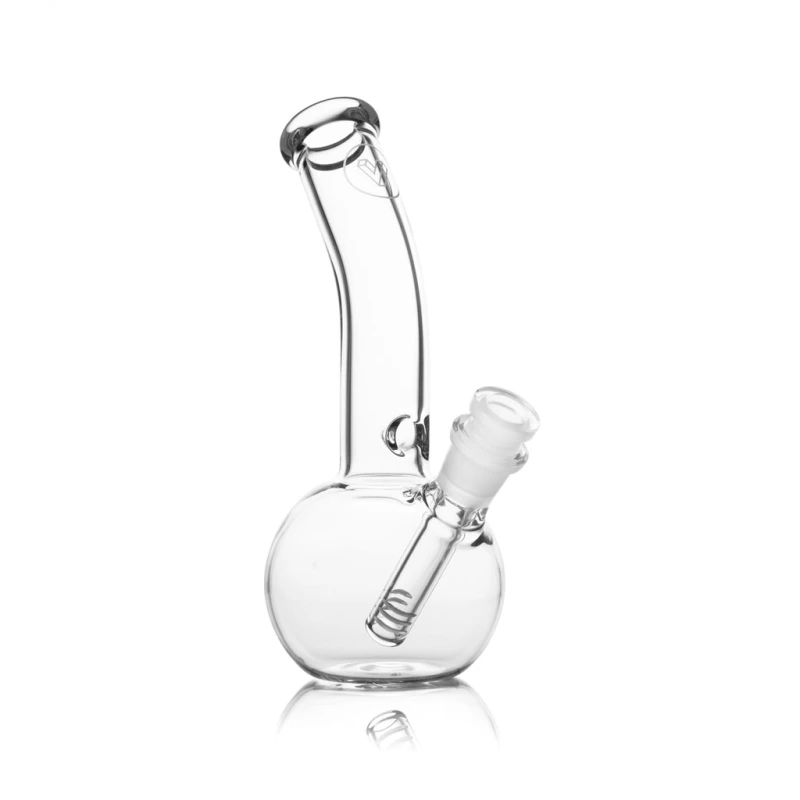
Bubbler Mouthpiece for Arizer Air, Air 2, Air SE, Air MAX, Solo, Solo 2, Solo 2 MAX, Solo 3
from 17,32 €
5 shops

Arizer
Curved Glass Mouthpiece Arizer
from 9,50 €
4 shops
Arizer
Glass Mouthpiece
from 2,01 €
32 shops

Arizer
Glass Mouthpiece Arizer ArGo
from 11,90 €
3 shops
Arizer
Solo 2 / Air Max Mouthpiece
from 6,84 €
5 shops
Arizer
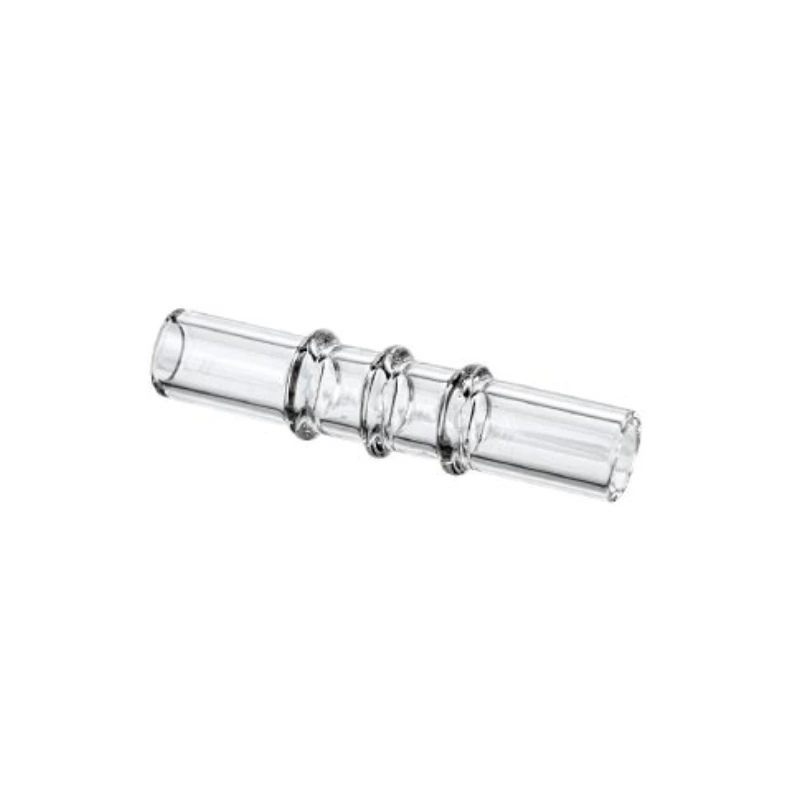
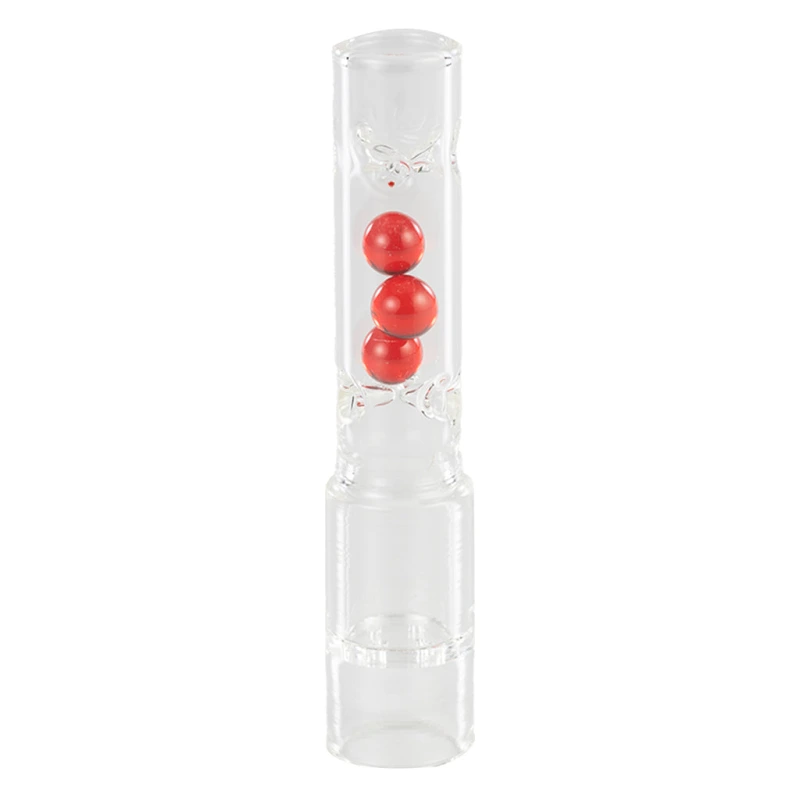
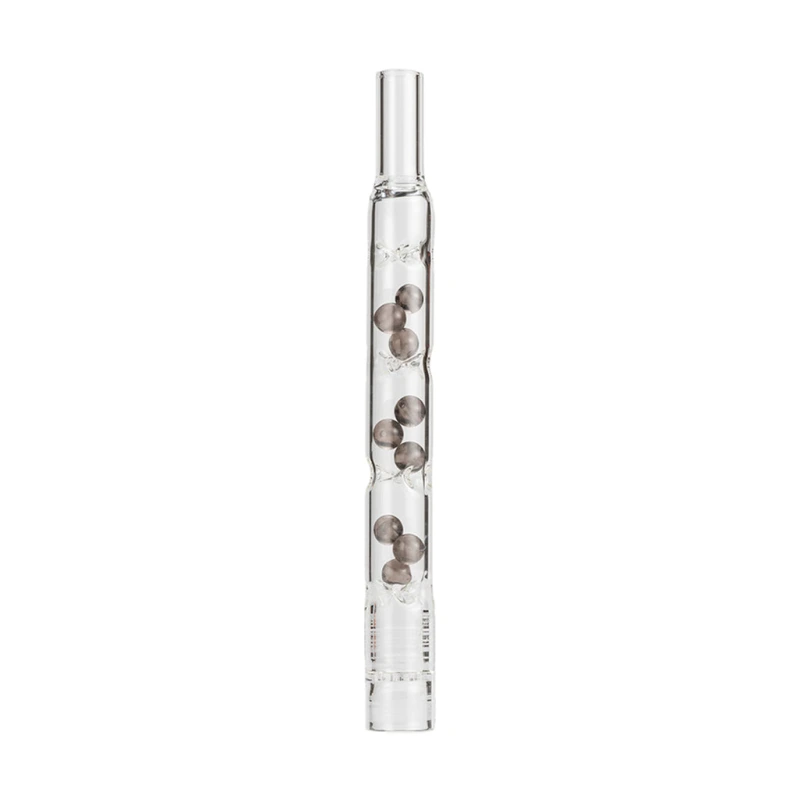
Arizer Bead Stems
from 15,59 €
6 shops
Arizer
Arizer Diffuser Tube
from 9,50 €
2 shops

Arizer
Arizer Evolution Stem
from 17,49 €
2 shops
Arizer
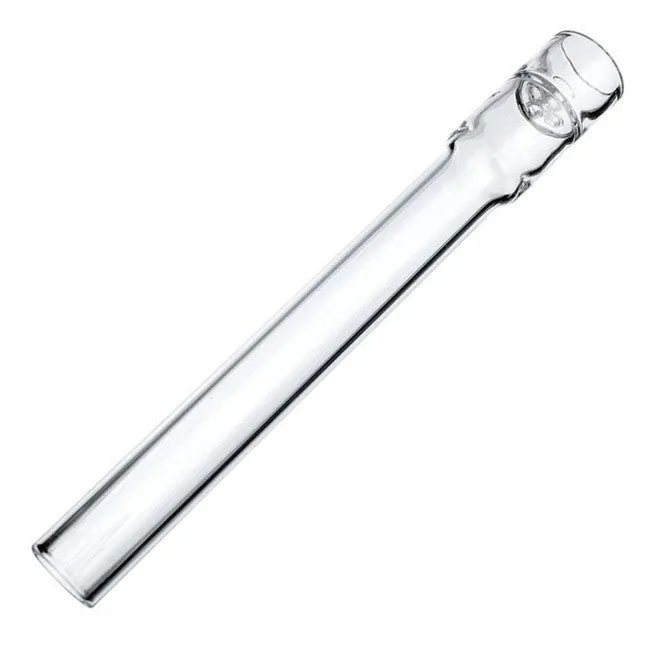
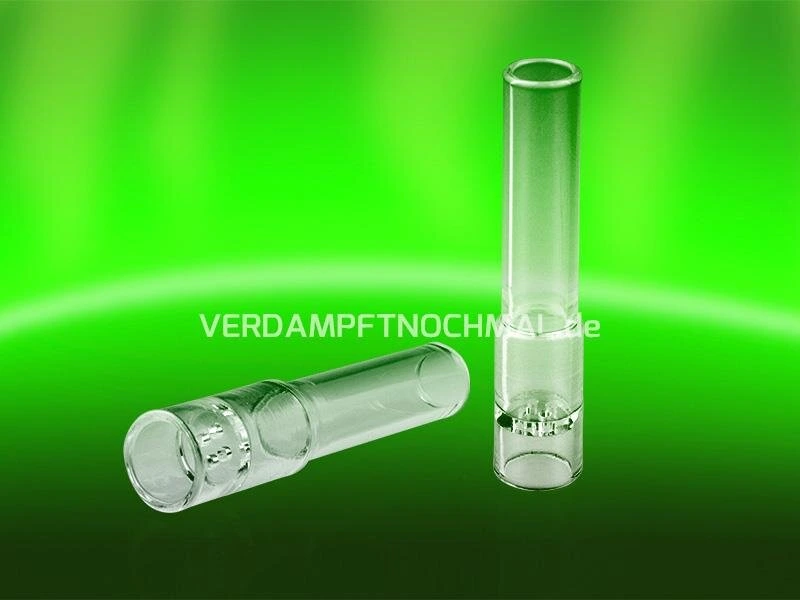
Arizer Glass Aroma Tube
from 5,90 €
21 shops
Arizer
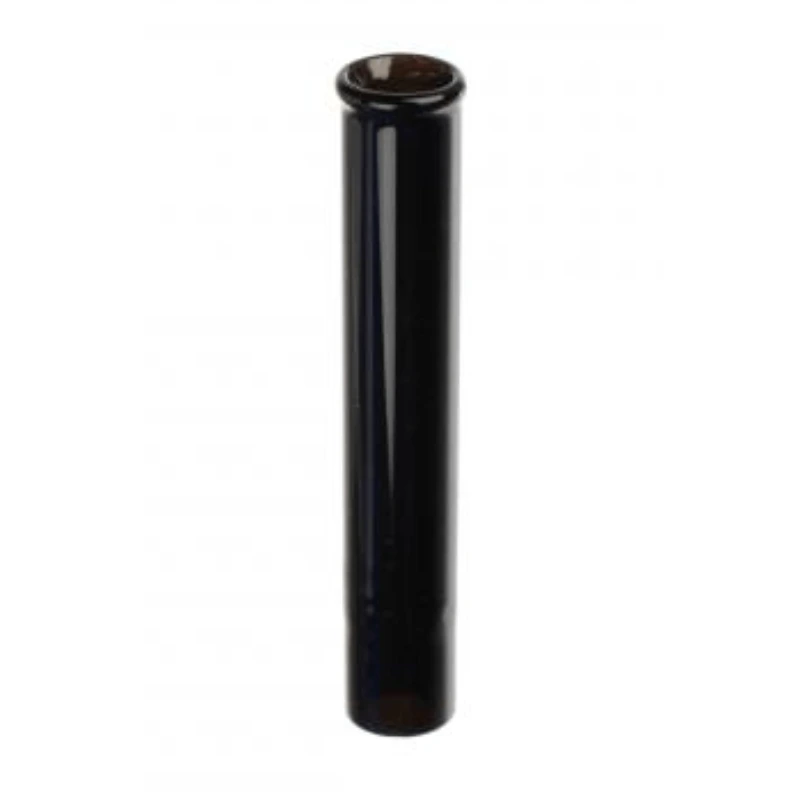
Arizer Long Black Glass Stem
from 18,45 €
2 shops
Arizer
Arizer Solo Curved Glass Aroma Tube
from 8,12 €
11 shops
Arizer
Arizer Solo/Air Stem Black Curved
from 9,50 €
4 shops
Arizer
Aroma Tube 110mm
from 1,90 €
7 shops
Arizer
Aroma Tube 70mm
from 7,99 €
2 shops
Arizer
Aroma Tube 90mm
from 4,99 €
12 shops
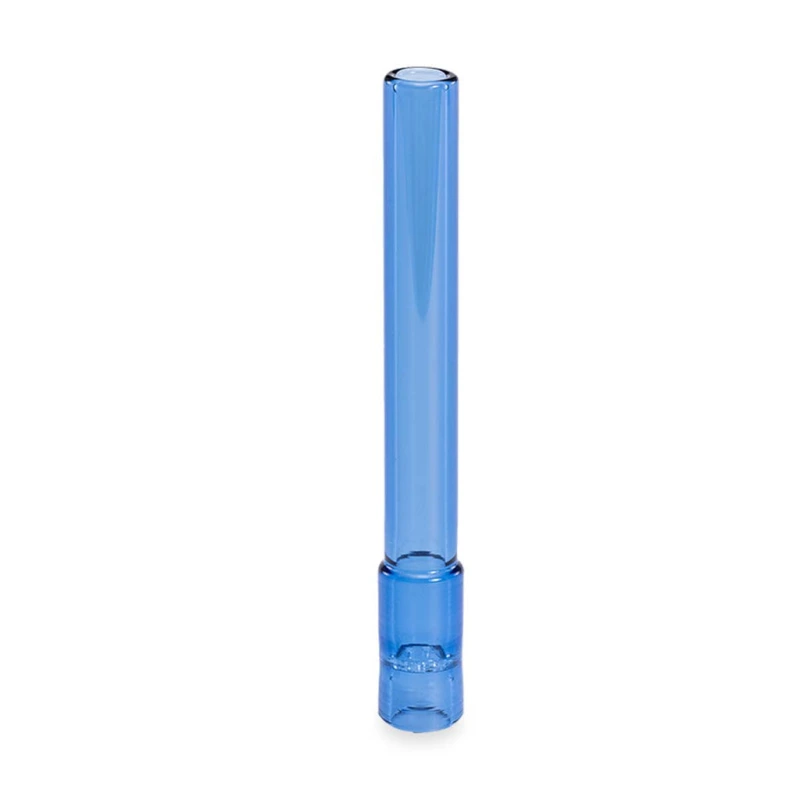
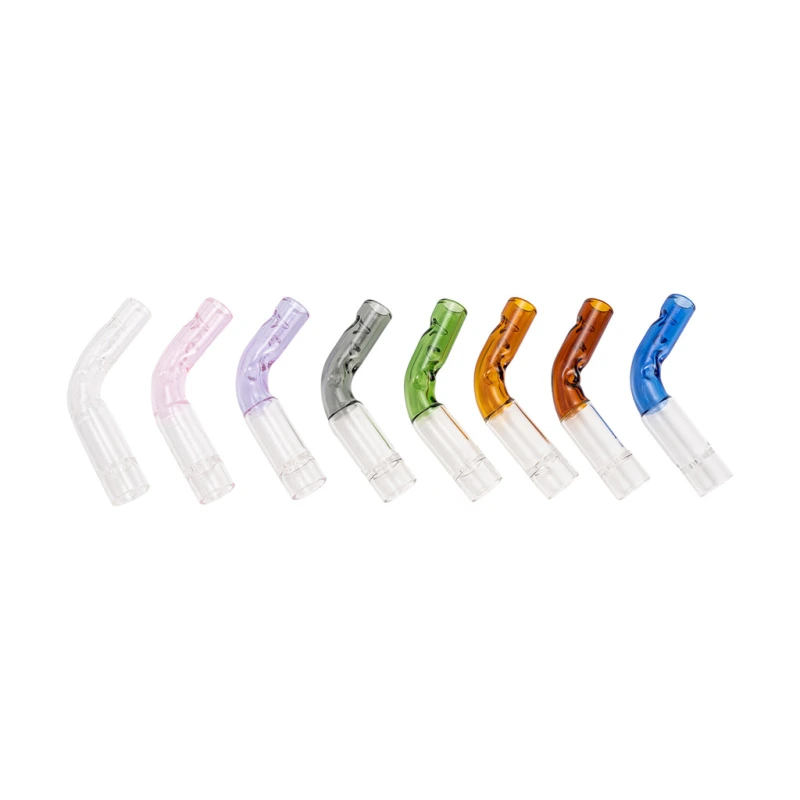
Arizer
Colored Stem (long) for Arizer Solo 2, Solo 2 MAX, Solo 3, Arizer Air MAX, Arizer Air SE, Air 2, Solo, Air
from 8,90 €
4 shops
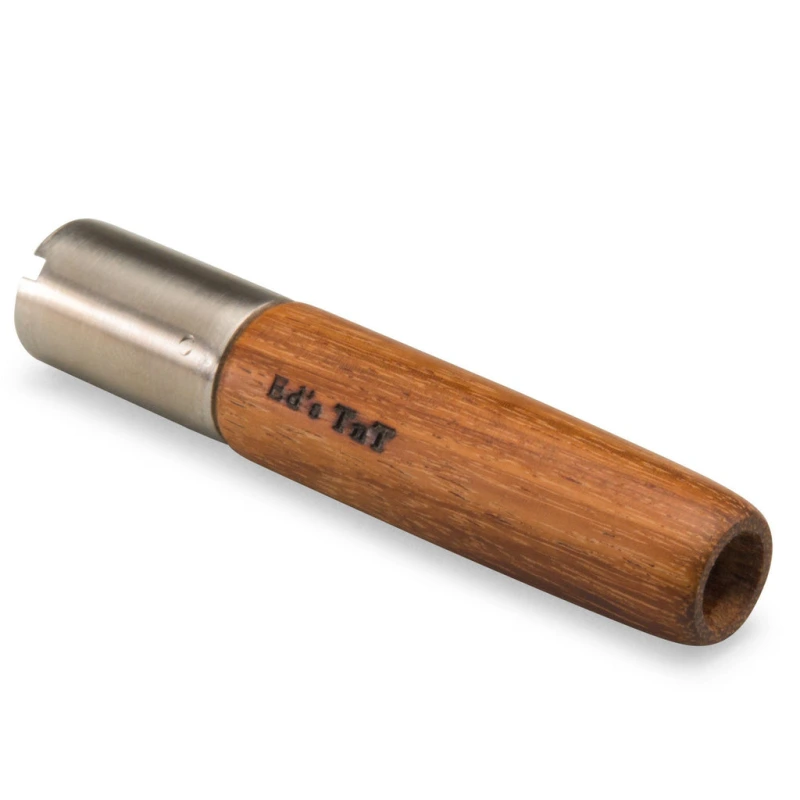
Arizer
Ed's TNT Wood Stem for Arizer Air, Air 2, Air MAX
from 29,97 €
2 shops
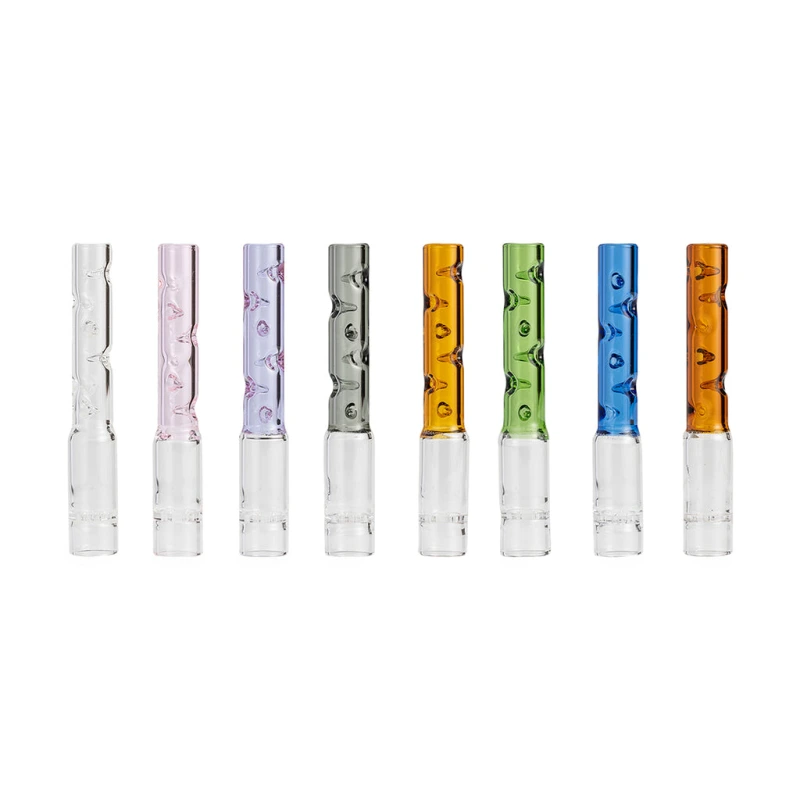
Arizer
3D Flow Aroma Tubes for Arizer Air 2, Solo 2, Solo 2 Max, Solo 3
from 9,16 €
9 shops
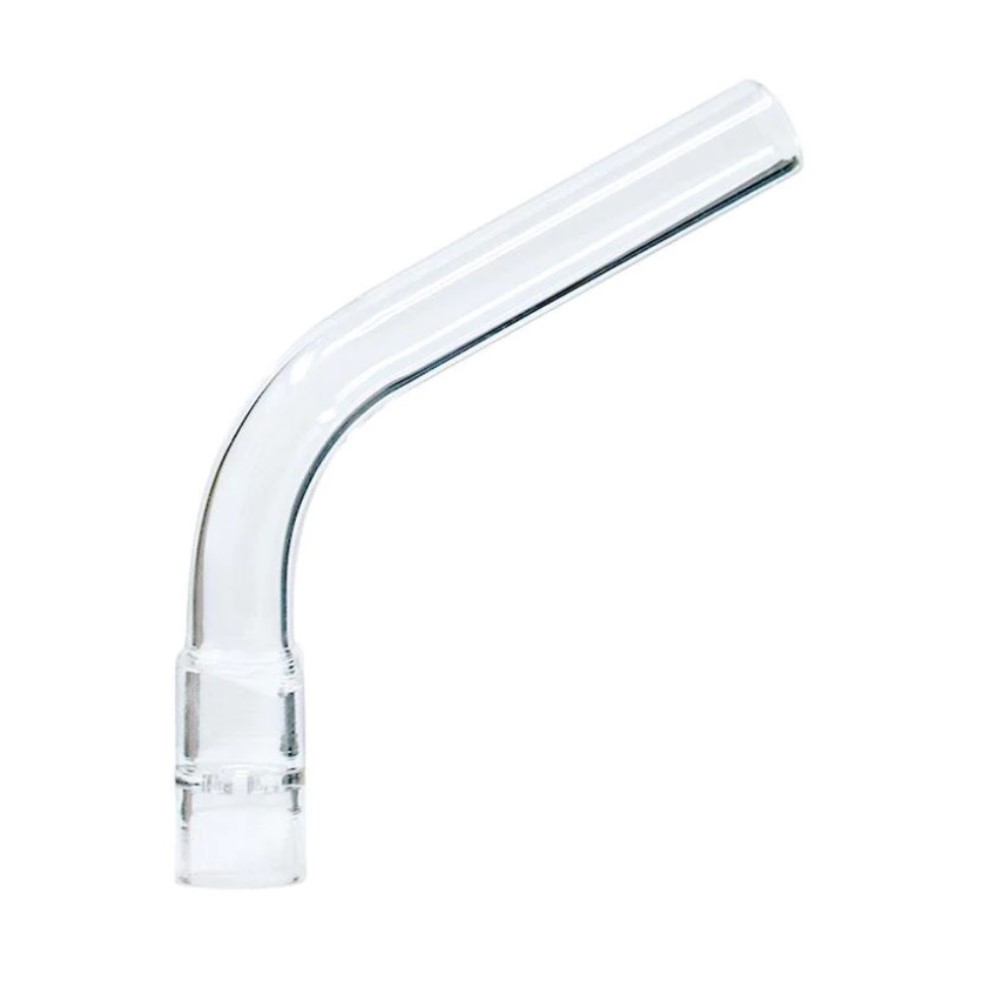
Arizer
Arizer Air / Solo Glass Aroma Tube (Curved)
from 8,99 €
4 shops

Arizer
Arizer Air & Solo Frosted Glass Aroma Tube
from 9,38 €
8 shops

Arizer
Arizer ArGo Frosted Glass Aroma Tube
from 9,38 €
5 shops

Arizer
Arizer ArGo Glass Aroma Tube
from 5,06 €
14 shops
Arizer
Arizer Glass Aroma Tube With Short Tip - 75 mm for Arizer Solo 2, Solo 2 max, Solo 3, Air MAX, Air SE, Air 2, Solo, Air
from 12,47 €
4 shops
Arizer
Frosted Glass Aroma Tube - ArGo
from 7,50 €
5 shops

Arizer
Glass Mouthpiece Aroma Tube Arizer
from 8,67 €
3 shops
Arizer
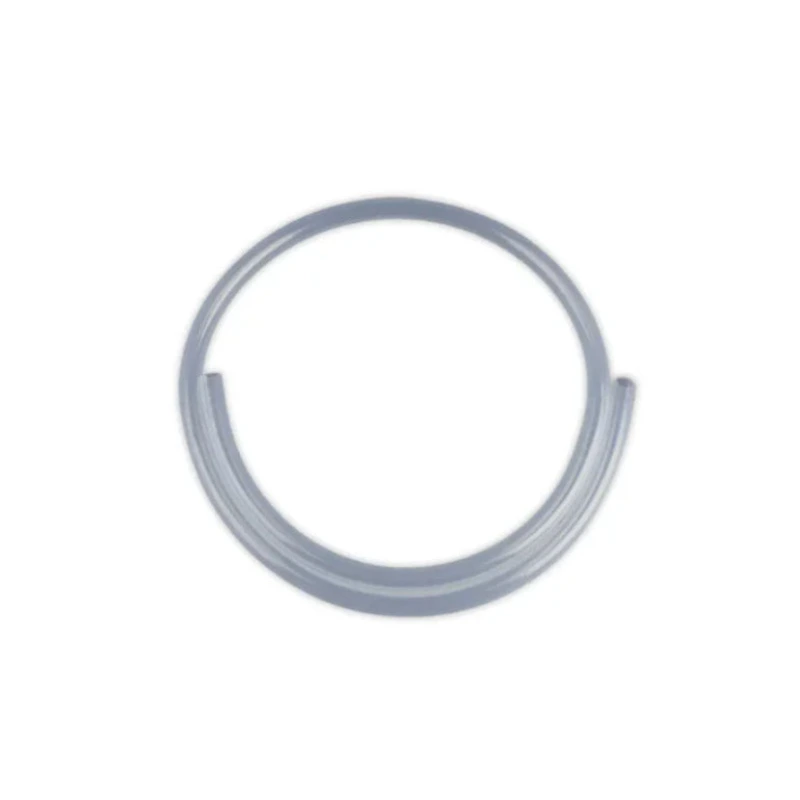
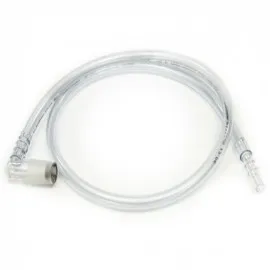
Hose / Tube Arizer – Hose / Tubing Arizer...
from 6,00 €
8 shops
Arizer
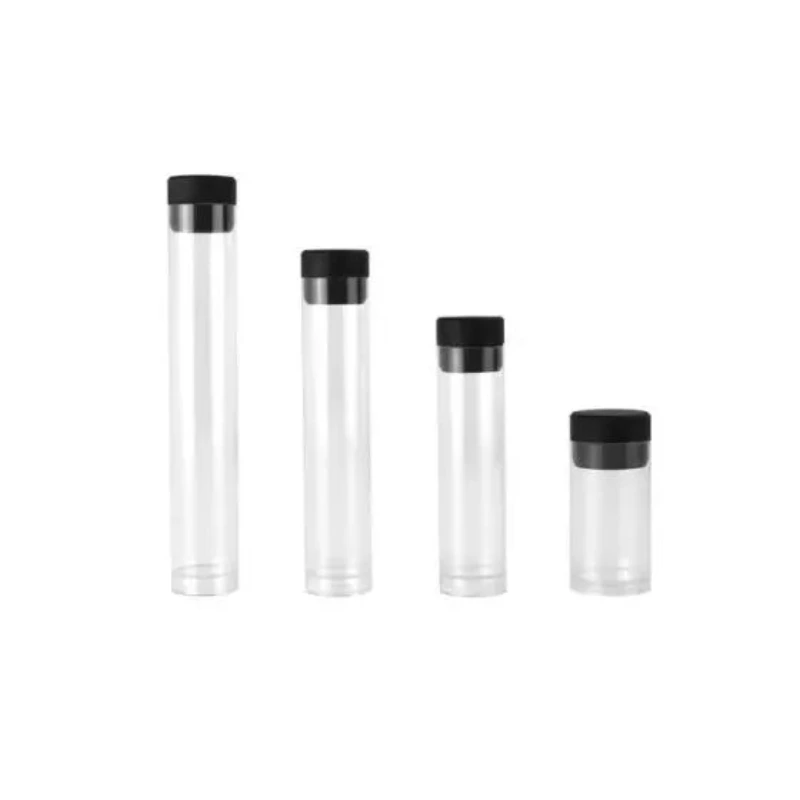
PVC Tube Set
from 1,04 €
17 shops
Arizer
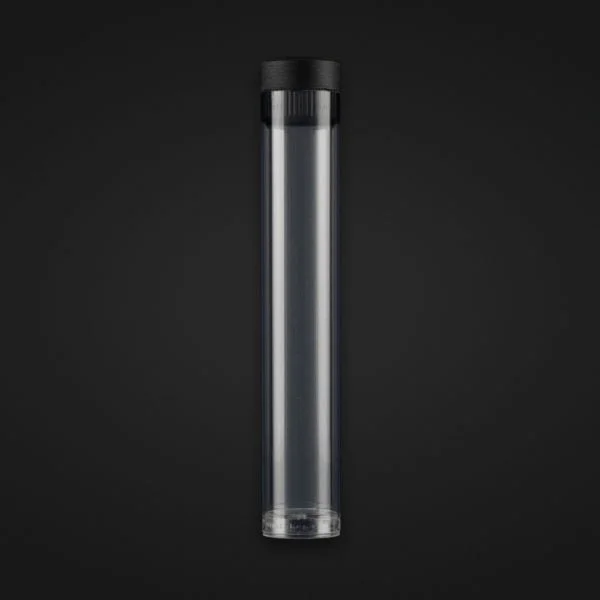
Arizer PVC Travel Tube with Cap
from 1,06 €
2 shops
Arizer
Arizer Stem Cap Pack
from 4,31 €
20 shops
Arizer
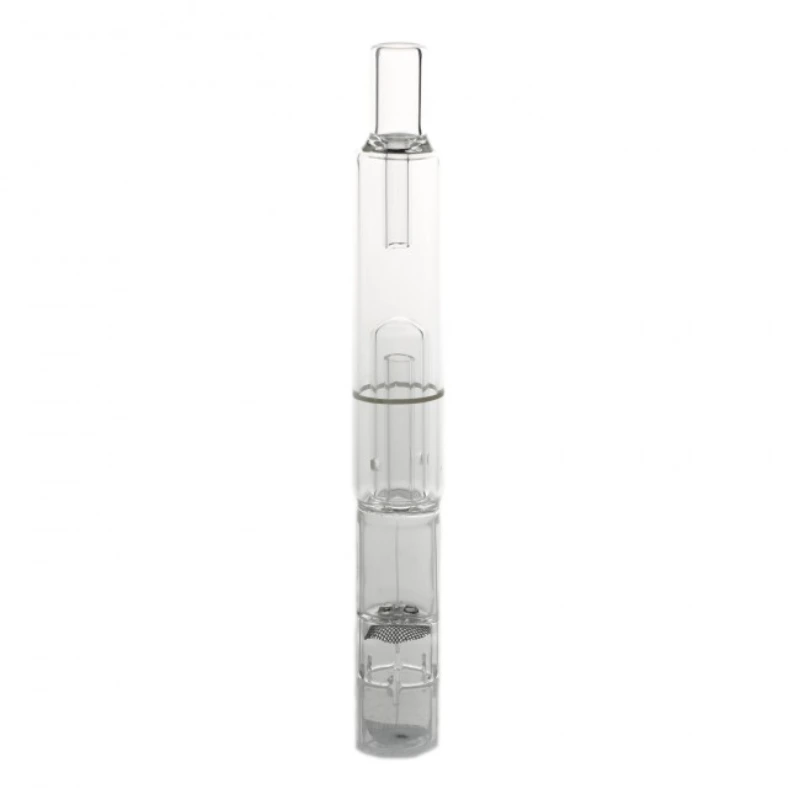
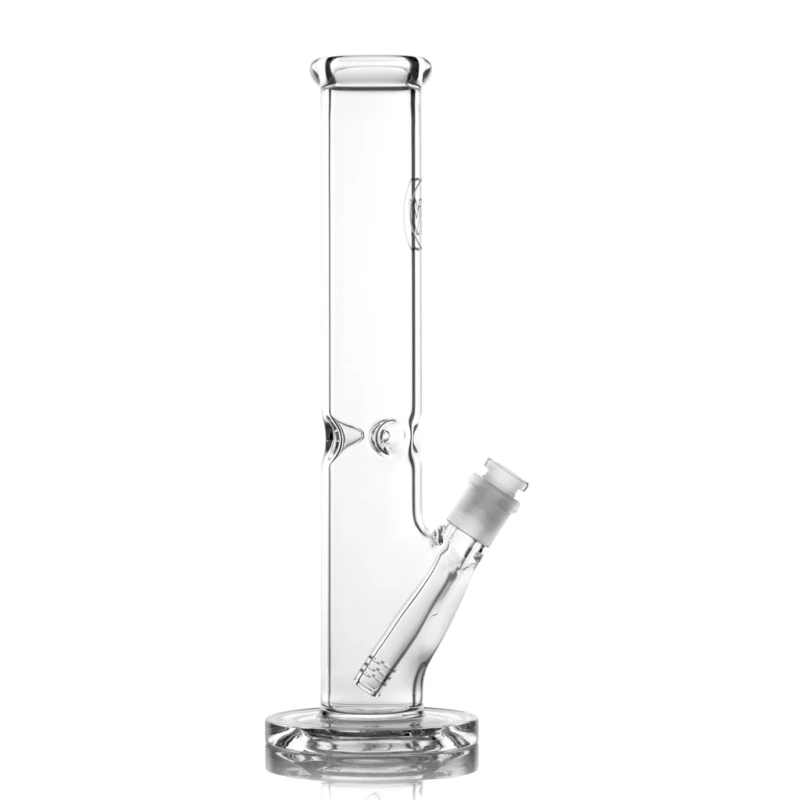
Arizer Hydratube
from 15,90 €
3 shops


Balloons
2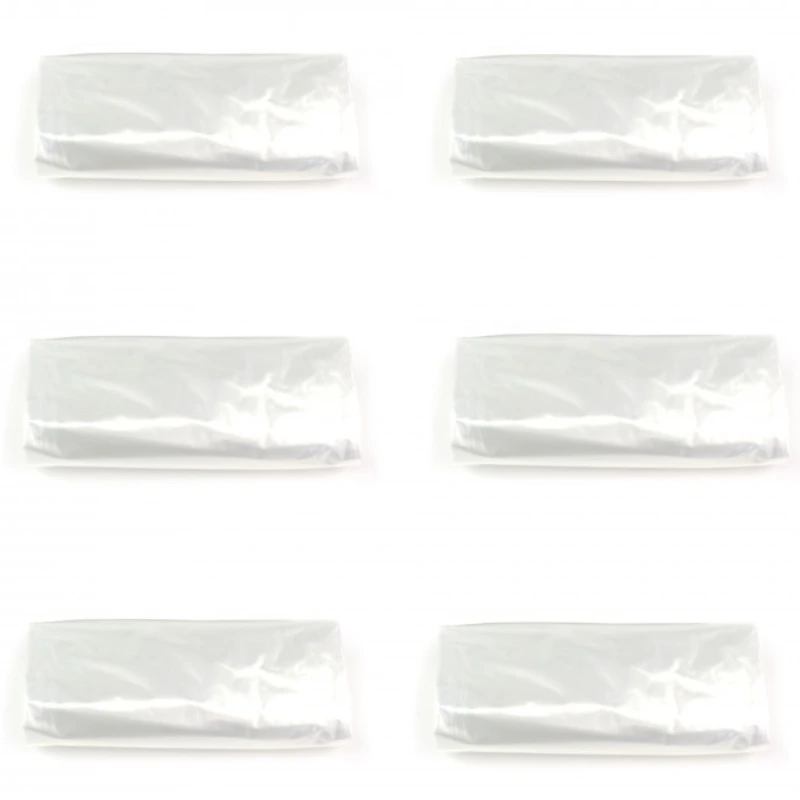

Adapters
7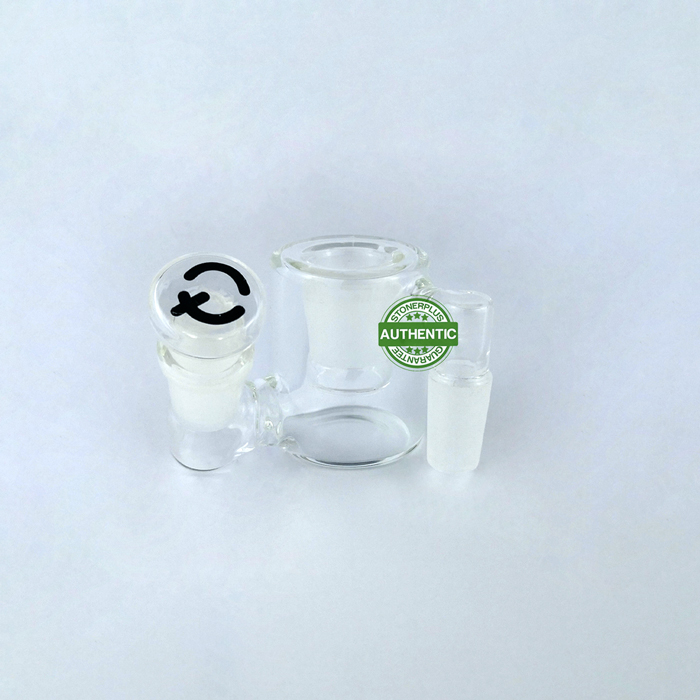
Arizer
Adaptor
from 2,60 €
22 shops
Arizer
Arizer Frosted Glass Expander
from 6,24 €
14 shops
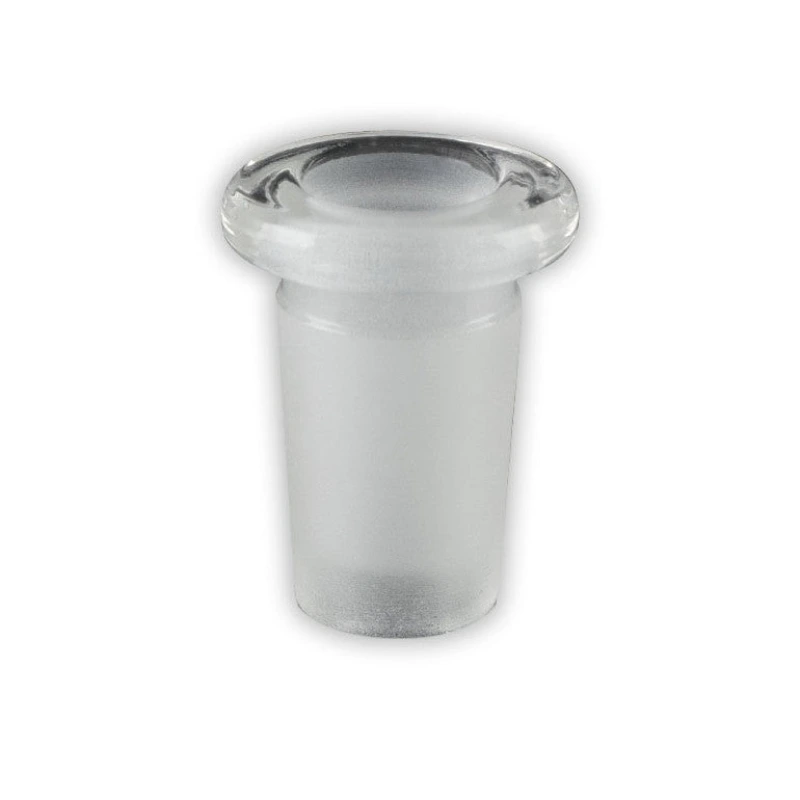
Arizer
Arizer Frosted Glass Reducer
from 0,89 €
19 shops

Arizer
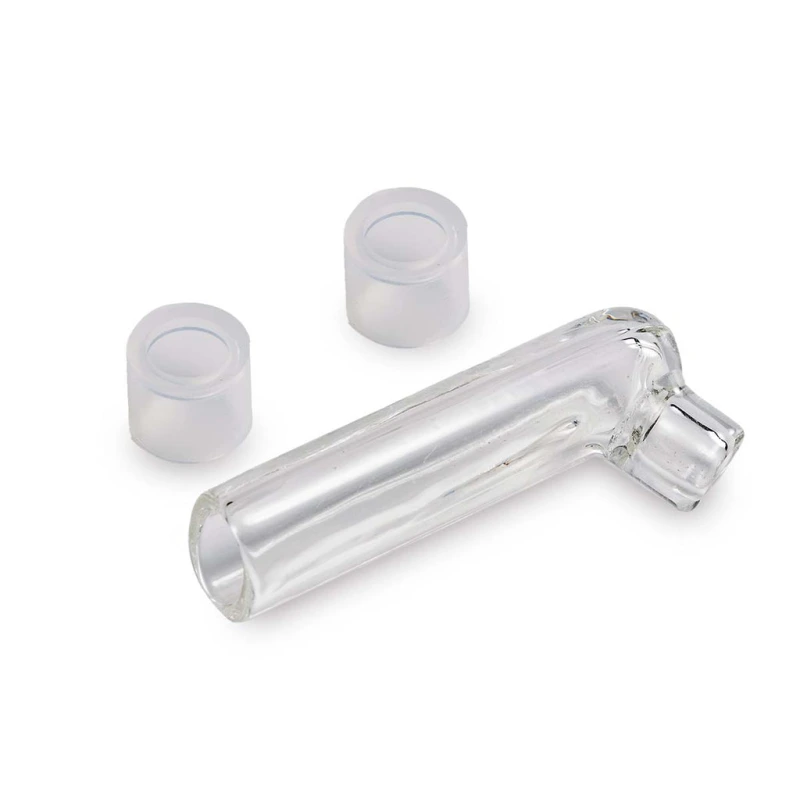
Arizer Glass Elbow Adapter
from 9,50 €
2 shops

Arizer
Arizer XQ2 Remote Control
from 15,62 €
6 shops

Arizer
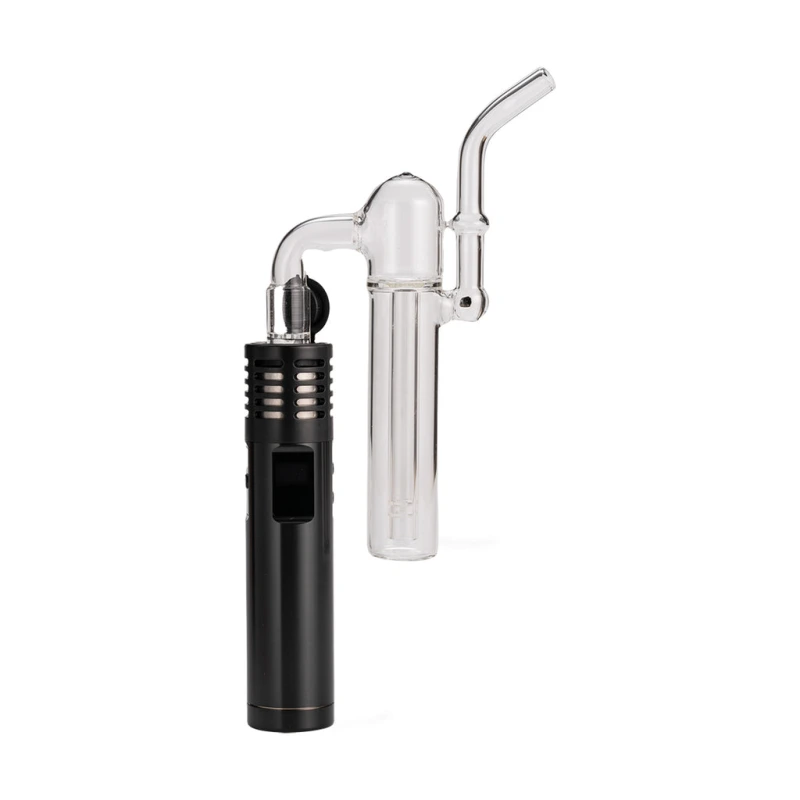
Arizer Solo 3 Wasserfilteradapter | Bubbler Adapter
from 12,95 €
2 shops

Arizer
Universal Argo bubbler adapter
from 12,50 €
6 shops


Arizer
Air SE Battery Cassette
from 4,60 €
5 shops

Arizer
ArGo / Air II Battery and Charge Tester
from 19,00 €
4 shops
Arizer
Arizer Replacement Power Supply
from 18,51 €
9 shops

Arizer
Arizer Solo Wall Charger
from 25,59 €
2 shops
Arizer
Arizer USB-C Charger for Solo 3 & Solo 2 MAX
from 4,37 €
22 shops
Arizer
Charging Dock - Solo
from 9,99 €
4 shops

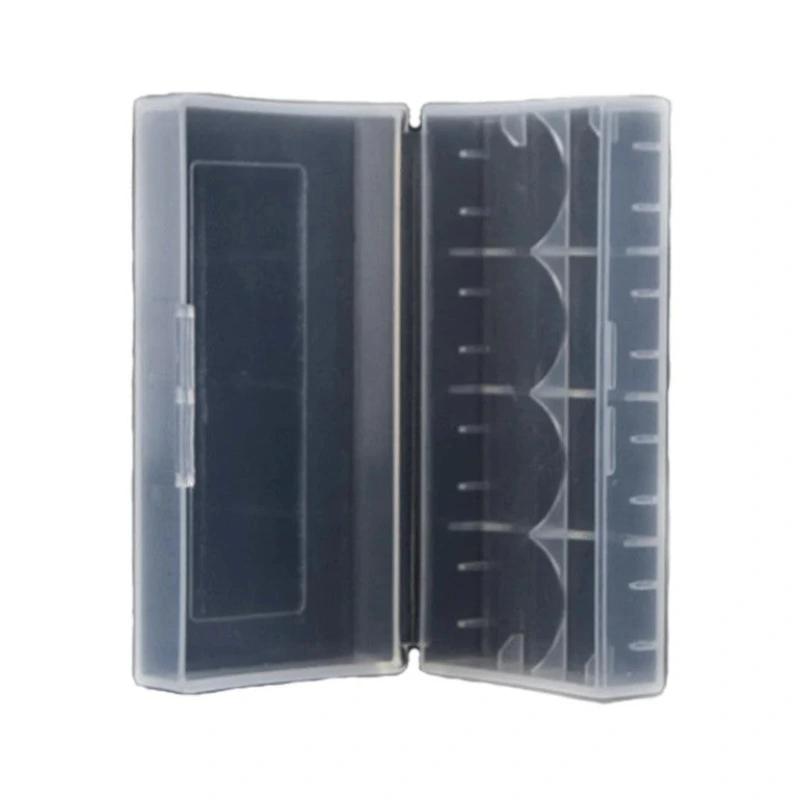
Arizer
18650 Battery Case
from 1,24 €
4 shops
Arizer
Arizer Air Max Battery
from 14,90 €
4 shops

Arizer
Arizer Argo Battery
from 12,08 €
2 shops
Arizer
Battery with Tester
from 14,90 €
17 shops

Arizer
Arizer ArGo Belt-Clip Carry Case
from 8,12 €
2 shops
Arizer
Arizer Belt Clip
from 5,62 €
12 shops
Arizer
Arizer Soft Shell Case
from 13,76 €
25 shops

Arizer
Arizer Solo II Belt-Clip Carry Case
from 4,99 €
2 shops
Arizer
Pre-Load & Go Case
from 2,50 €
26 shops
Arizer
Solo 3 Carry Case
from 14,88 €
6 shops

Replacement Parts
1
Other Accessories
6
Arizer
Arizer - Tuff Bowl Grips Pack
from 10,42 €
3 shops

Arizer
Arizer Glass Aromatherapy Dish
from 9,23 €
2 shops

Arizer
Arizer Glass Connoisseur Bowl
from 12,49 €
6 shops
Arizer
Arizer Tuff BowlGrips Pack
from 9,34 €
19 shops

Arizer
Glass Cyclone Bowl Arizer
from 18,70 €
2 shops
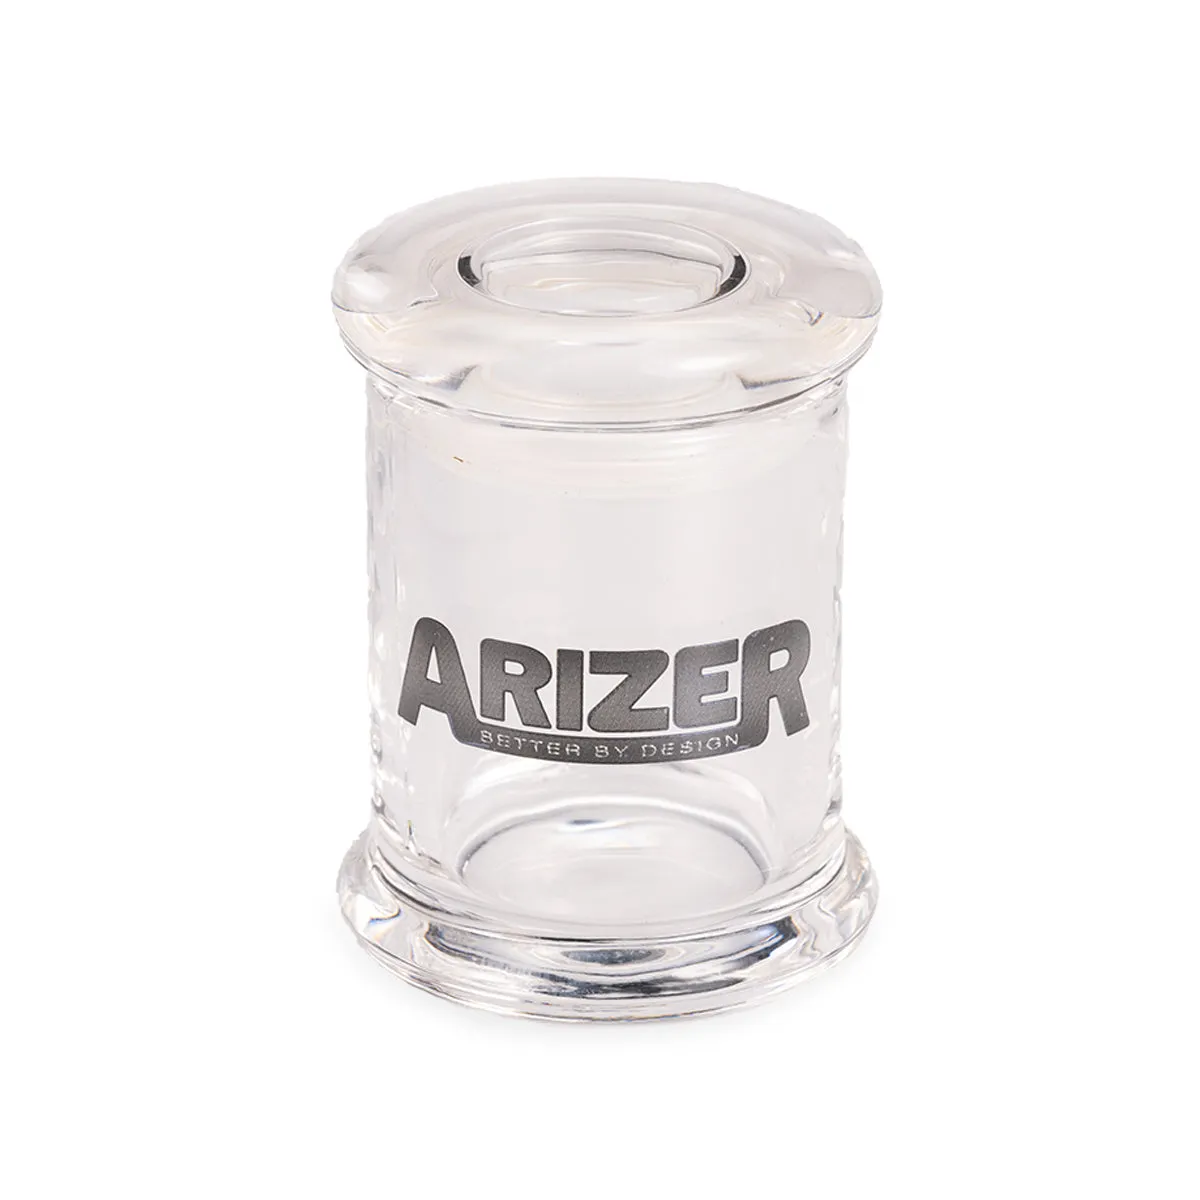
Arizer
Arizer Glass Jar (Small)
from 21,70 €
2 shops


Variants & Editions
Starter Bundles
Best Price
121,55 €
Available at 27 shops
Visit Shop
Comments
No comments yet. Be the first!
Sign in to comment